I picked up a Puck.js a while ago and after trying out a few basic bits of code, sadly let it start to gather dust on my shelf. That changed this weekend as I browsed the sample project listings for something simple to build, picking up the Puck.js Duplo police siren build to try.
It should be a fun toy for my youngest to play with, as he really enjoys Duplo.
What is the Puck.js?
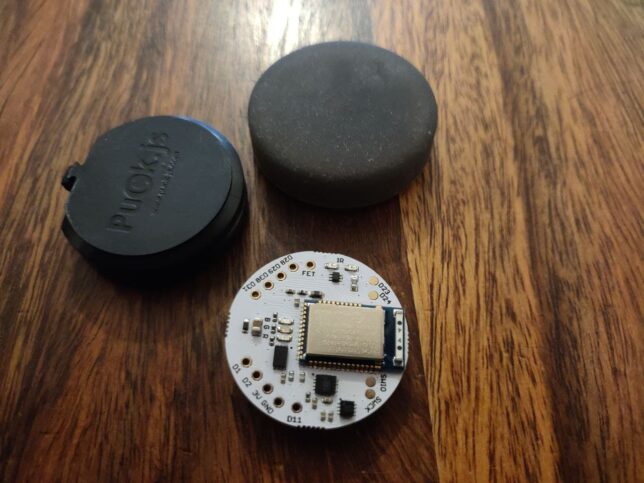
The Puck.js is an open source JavaScript microcontroller. It has a variety of features such as:
- Button
- Magnetometer
- Accelerometer
- Gyro
- IR & RGB LEDs
- Temperature and light sensor
- FET output
- Programmable NFC tag
- 9 IO pins
The best part about the Puck.js for me is how accessible it is to run and deploy code to. Using Web Bluetooth and it’s included puck.js library, you can write code in a Web IDE, connect over Bluetooth, and have your code running in seconds.
Building the Puck.js Duplo Police Siren Project
If you want to try it out yourself, the actual tutorial page itself is the best resource to begin with. There is a video available there to follow along with.
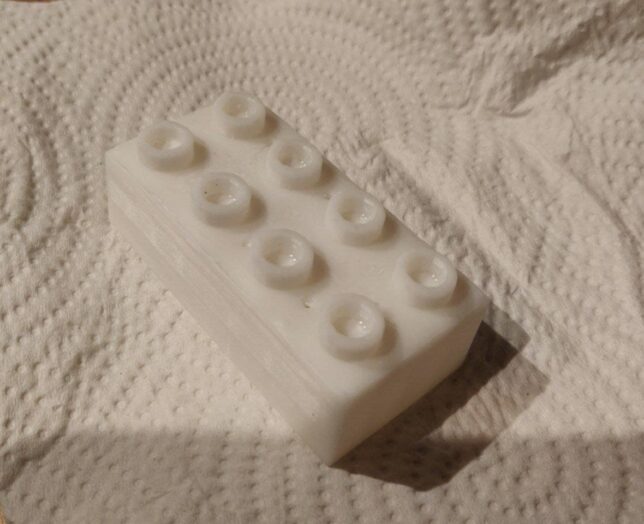
Here is the Thingiverse page where you can get the model. It currently only lists a scad version of the file, so you’ll need to download OpenSCAD and open it there.
Here is a gist for the file including the cut-out operation that subtracts the innards from the block to make room for the puck.js and piezo to fit into.
I printed the block using my Elegoo Mars resin 3D printer. My first go seems to be slightly loose fitting, so I might shrink the model to 99% size and try again for a second iteration.
I used a new resin that is meant to be easily rinsed/washed after printing with water. The quality on the top of the block doesn’t look as good as usual, so I’m not sure if this resin is to blame for that or not.
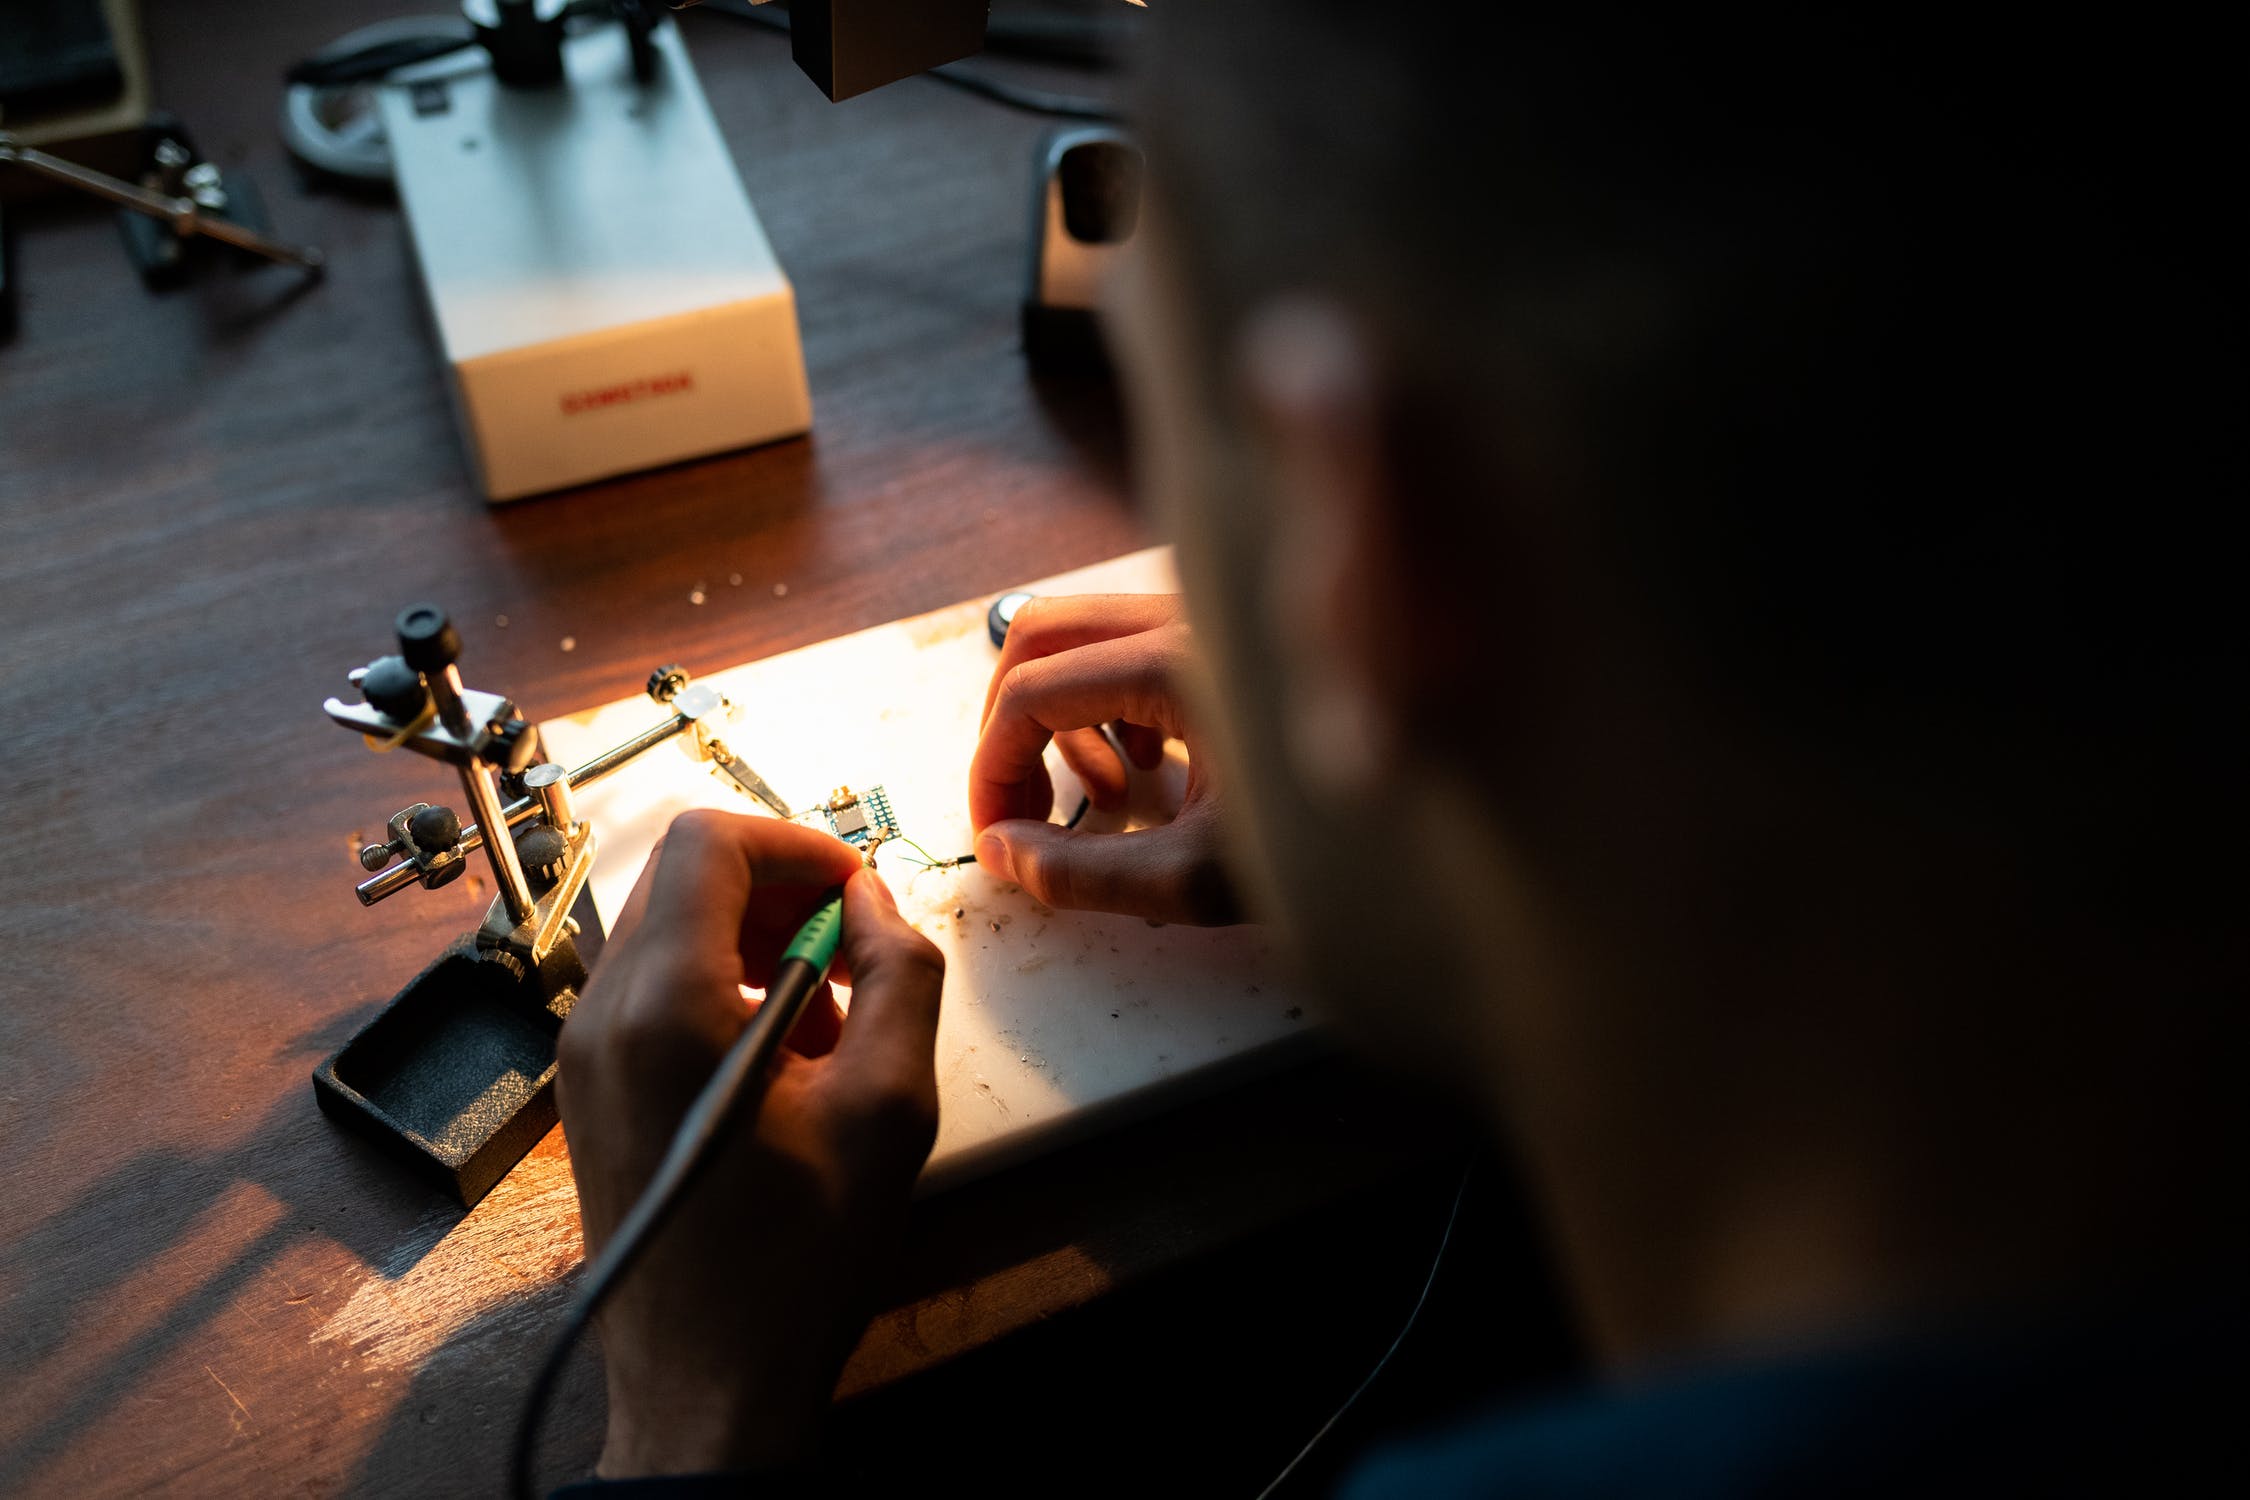
Connecting the Components
The LEDs connect to D1/D2 and D30/D31. The piezo goes on D28/D29. I used RGB LEDs, so I snipped the other legs off, leaving just the blue and common cathode terminals to connect up.
After a bit of dodgy soldering, it works!
Installing Everything Into the Block
With a little bit of coercion, the whole lot fits in. I used a bit of hot glue on four edges of the Puck.js to keep it in place, but keep it easy to remove if needed.
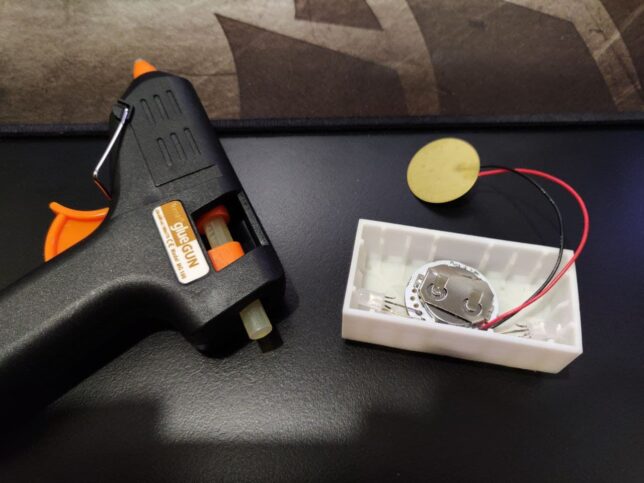
After that, I added a layer of scrap paper with the piezo in-between, and glued that in too.
Here is the final result.
The Puck.js may be fairly pricey, but it includes a lot of IO. It’s battery and use of Bluetooth LE make it ideal for projects where battery life is a concern. The battery is super cheap and can last up to around a year if used carefully.
I had fun making this project. It’s a great project to get started with the Puck.js, and hopefully I’ll find some more use cases soon where I can use more of these great little devices.