I currently use an Intel Apple Mac Mini that I upgraded as a daily driver for my work. I’ve been quite excited about the prospect of the M1 processor and the performance and power efficiency it has on offer.
However, I just can’t bring myself to buy one of these yet. Why? It’s like those older Windows Service Pack updates you would always hold off on installing. Sometimes you’re setting yourself up for disaster by adopting something new and shiny without it proving itself first.
Edit (8/7/2022): Apple M2 hardware is now releasing, and many of the issues I describe below for M1 will hopefully no longer be relevant. The platform is more mature now, and many issues have been ironed out. Node 16 is more prevalent everywhere too. I still stand by my views aroud the right to repair issues though.
Apple M1 turns 1, but still has room for improvement
Tomorrow, the Apple M1 will have officially been on the market for exactly 1 year (Apple M1 was officially released on November 11, 2020). I still don’t think it has proven itself yet, or had the kind of mass adoption needed to bring about software maturity.
I’ve read countless threads, articles, and comments around the interweb that highlight problems and shortfalls that I just don’t see on my Intel based Mac Mini 2018 model. Here are some examples:
- M1 MacBook Pro and Max models crashing when playing YouTube HDR videos.
- Initially, M1 Mac products experienced heavy SSD wear. This appears to have now been resolved with macOS 11.4, but its a prime example of early, unproven products having issues. It’s also possible that there were more failures due to bad SSD controllers, rather than cell wear, but still, worrying stuff.
- Memory leaks are crippling my M1 MacBook Pro
- HackerNews thread showing other user’s experiences
- Relevant thread on reddit
- An Apple Silicon Mac won’t boot if the internal storage has failed
- Docker support lagged with M1. Early adopters soon realised that many of their favourite day-to-day Docker images were not built with the M1 architecture/platform. Support lagged in many places, (and still does for more niche software). Some users were caught off guard as they didn’t think about this when “pulling the trigger” on Apple Mac M1 purchases.
I’ve also spoken with colleagues who upgraded to M1 and have reported that certain Node.js applications are much slower on M1 than they were on their older, Intel based macOS systems.
I use node a lot for work, and this is a worrying thing to hear. I looked it up, and sure enough there are plenty of experiences from others that report issues with Node, and NVM on Apple silicon.
- NVM runs very slow on M1
- Mac Mini M1 issues with Node.js versions < 15. Apparently this is a lack of ARM support for Node versions < 15.
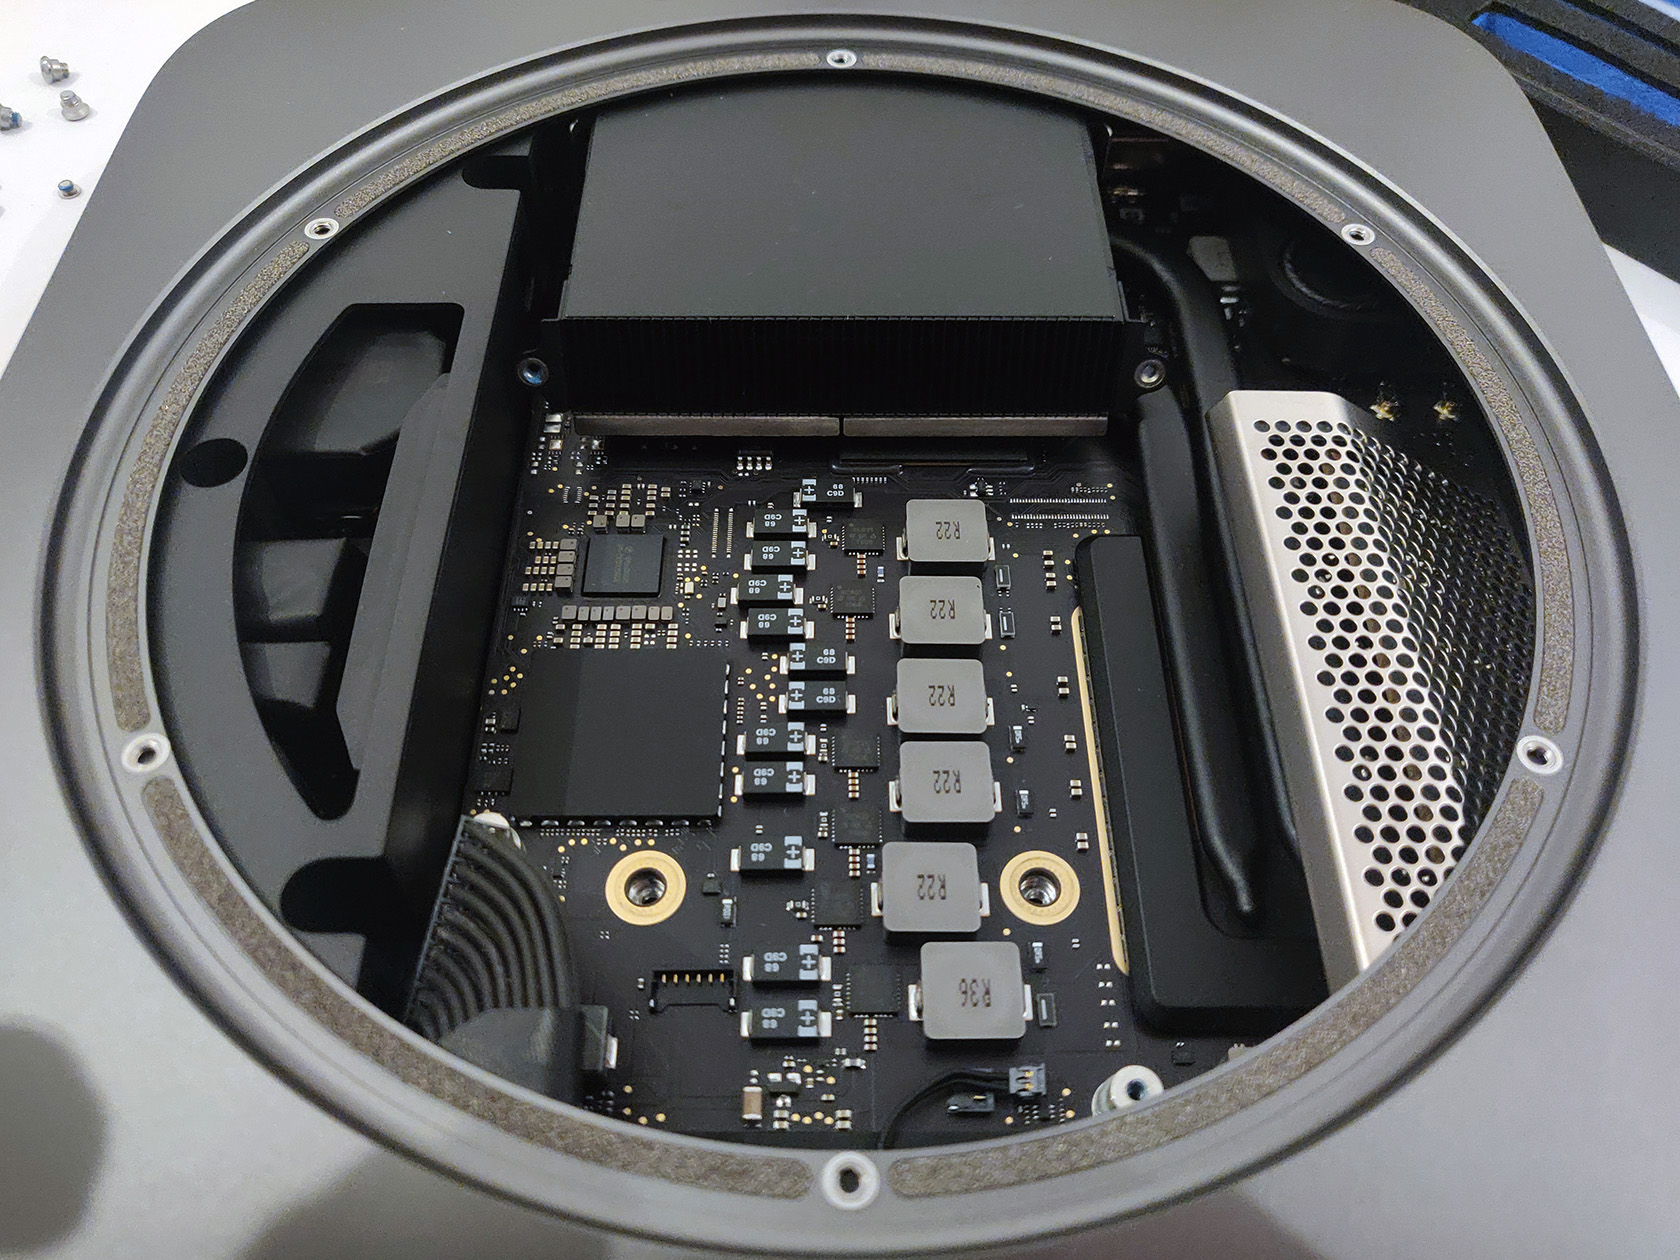
UMA and our right to repair
I am not convinced about Apple’s Unified Memory Architecture (UMA) being all sunshine and roses. The memory bandwidth up for offer sure is enticing, but what about upgradeability and repair?
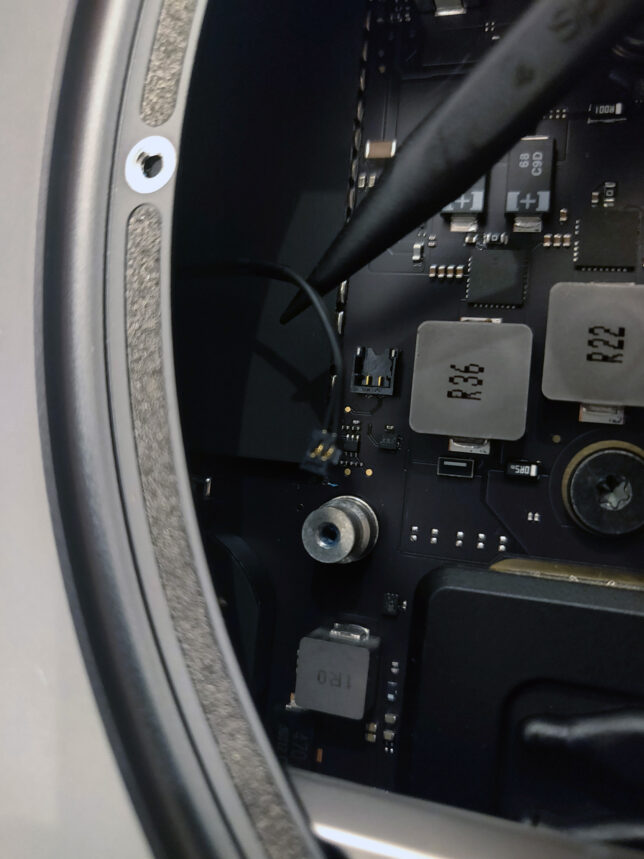
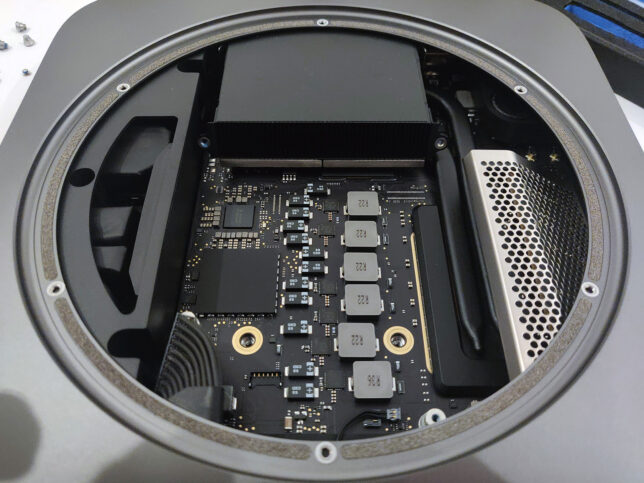
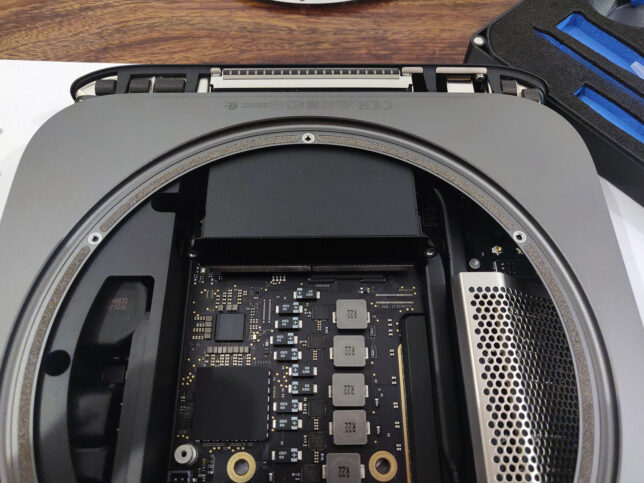
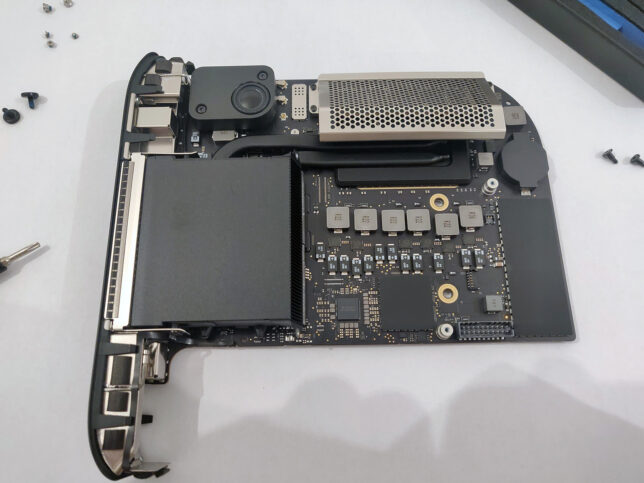
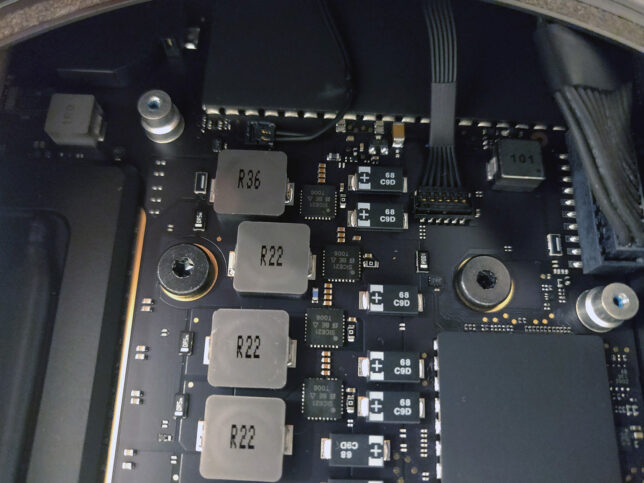
Apple is making sacrificing one thing for another. Now, if the memory built into the logic board fails, the entire board needs replacing.
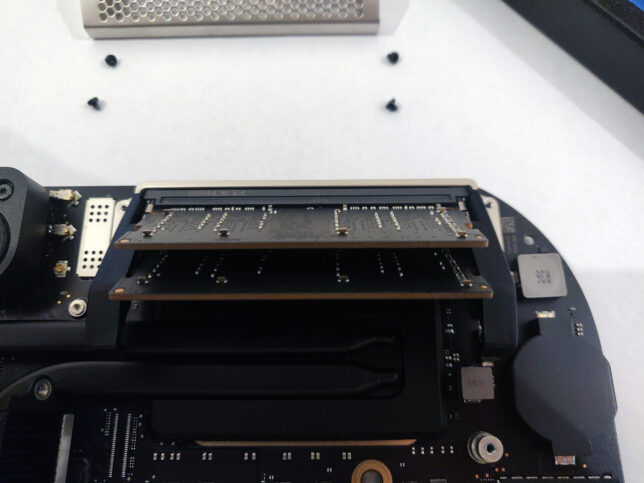
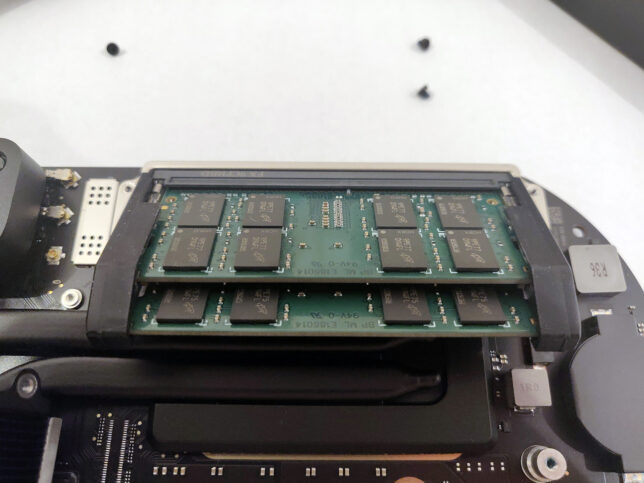
What about upgradeability? With my Mac Mini 2018, I bought the (much cheaper) 8GB model. I then purchased 32GB SODIMM RAM modules at half the price of what Apple wanted to charge me. I performed the RAM upgrade myself.
With M1 I cannot do that anymore.
Intel is where it’s at for me
My current Mac Mini is great in terms of memory and SSD performance. However it has an anaemic Core i3 processor that is crippling overall performance. For example, Slack’s renderer process brings all 4 logical cores to their knees if I do a screenshares.
I definitely should have opted for the i5 when I purchased this model.
However, there is light at the end of the tunnel. Apple still sell Intel-based Mac Minis. They do hide it out of sight where you need to scroll to the bottom of their product page, but at least they’re there.
As a society we should be more cautious with early adoption and “jumping on the band wagon”. We should wait for issues to be resolved, or at least “day 1” patches to be released in the case of software. Assess the severity of problems at launch and wait for product maturity before taking the plunge. I try to use this same philosophy with games. The industry has moved to “early access” and we’re all being taken along for the bumpy ride.
For now my hardware upgrade path is clear – an Intel-based Mac Mini with a 3.0GHz 6-core 8th-generation Intel Core i5 processor.