Here is a quick photo guide I did on how I swapped out LCD panels (between two Acer Travelmate laptops – 15″ LCD from 4520 to the 4600’s chassis). The 4600 had a faulty LCD panel and the laptop worked perfectly apart from this one problem. I guess a lot of this would be relevant when dealing with most laptop LCDs. The only change being slightly different components and connectors in slightly different places. Hope this helps someone out in the future. I just ensured both panels were the same specification : i.e. both were 1024×768, XGA and were for Acer Travelmate laptops.
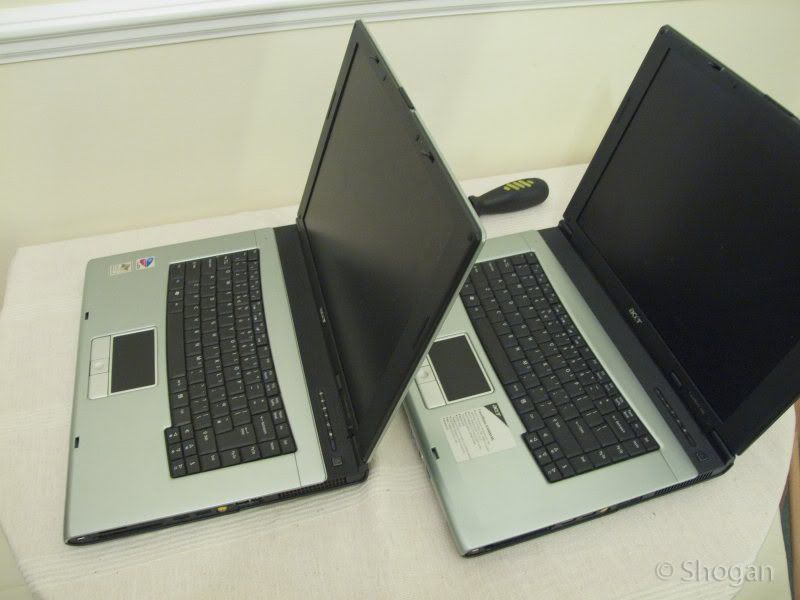
1. Here we have the two laptops. Donor laptop in dark grey, laptop to receive new LCD in light grey.

Start by removing your mains charger and disconnecting your laptop battery.
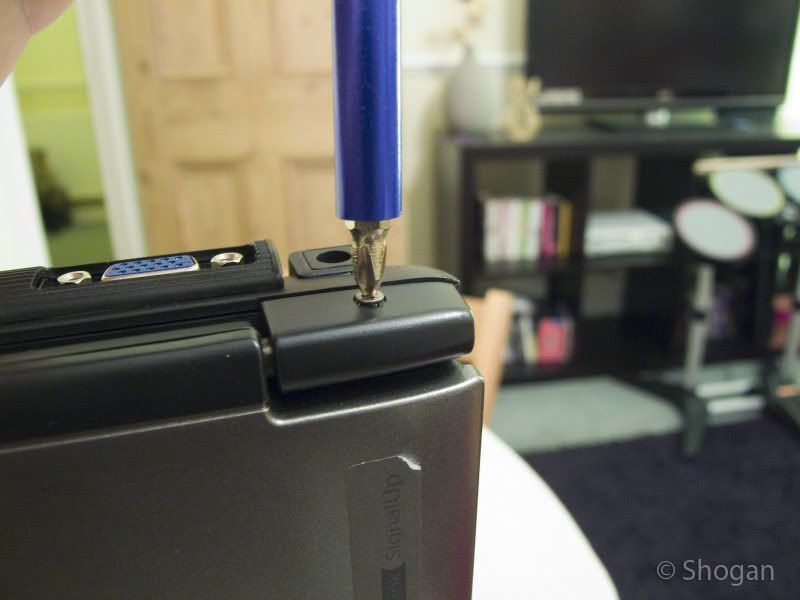
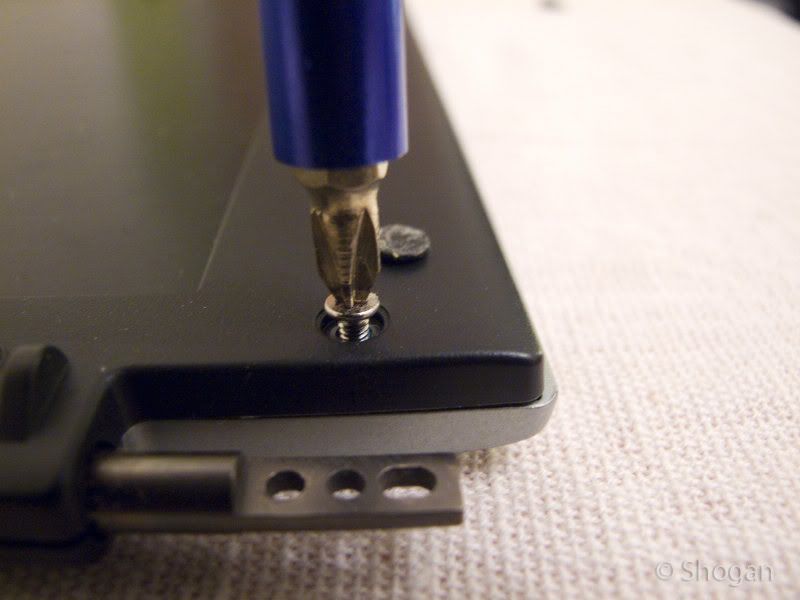
2. Flip the donor laptop on its edge, and unscrew the 3 screws on the back of the LCD hinges.
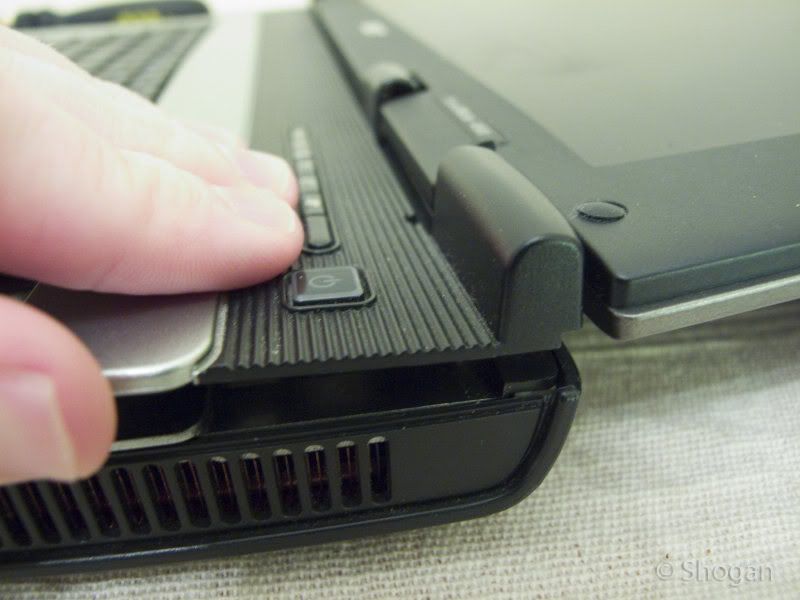
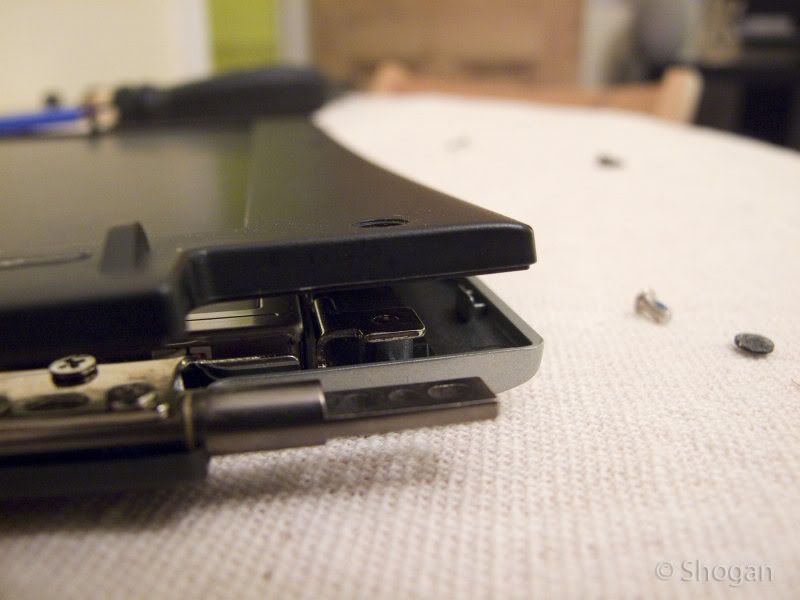
3. Next, fold the LCD backwards (open it as far as it will go), and pry off this plastic panel (gently as you can with your fingers). If you are gentle and patient enough, it should come off relatively easily without snapping anything.
4. Flip the laptop over and unscrew the cover that protects the wifi and RAM components. On these laptops this is in the center.
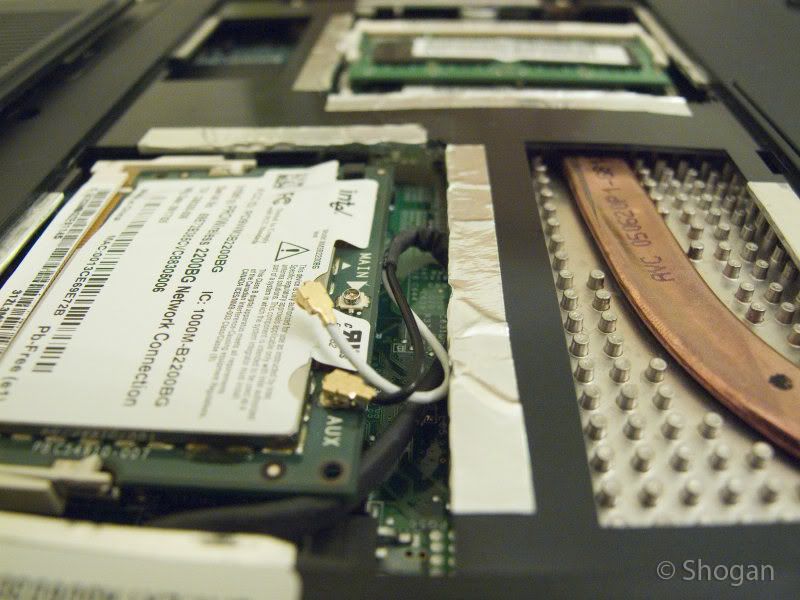
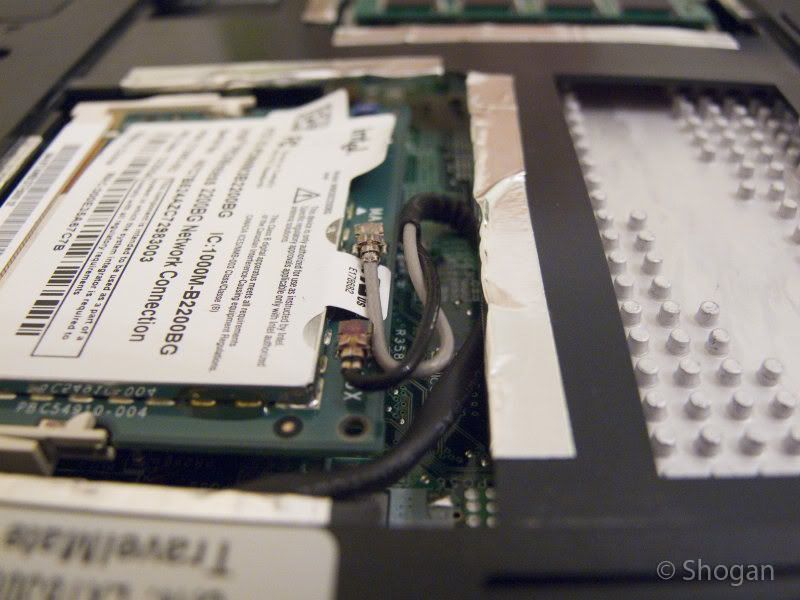
You will find that there should be two “pigtail” connectors attaching to your wifi card – these are labelled AUX and MAIN. (note down which colour wire attaches to which connector) – mine was black on AUX and White on MAIN. Disconnect these two pigtail connectors as these run through the notebook, up into the LCD to give you a better wireless signal.
5. Next we flip the laptop over again, and unscrew these two screws to remove the keyboard.
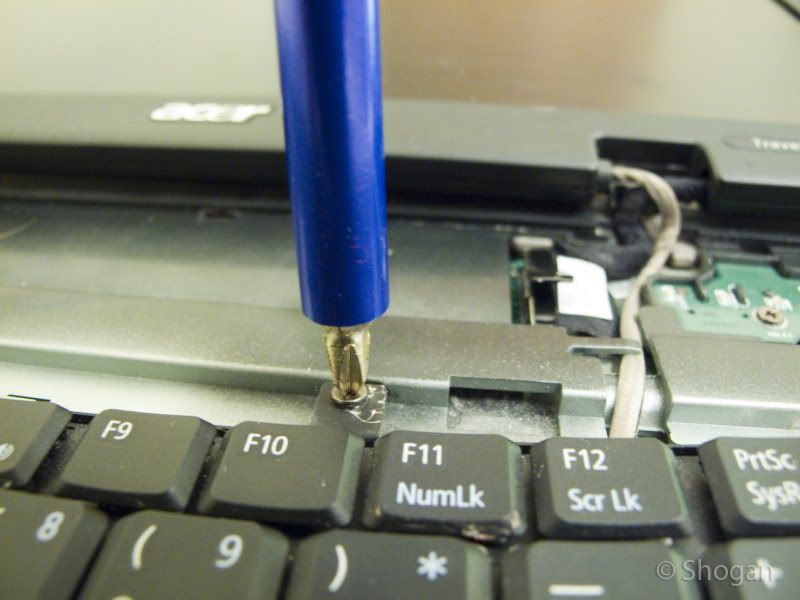
Lift the keyboard gently and notice the ribbon connector that attaches to the motherboard. Flick the black clip on this ribbon connector upwards and the ribbon connector can now be removed.
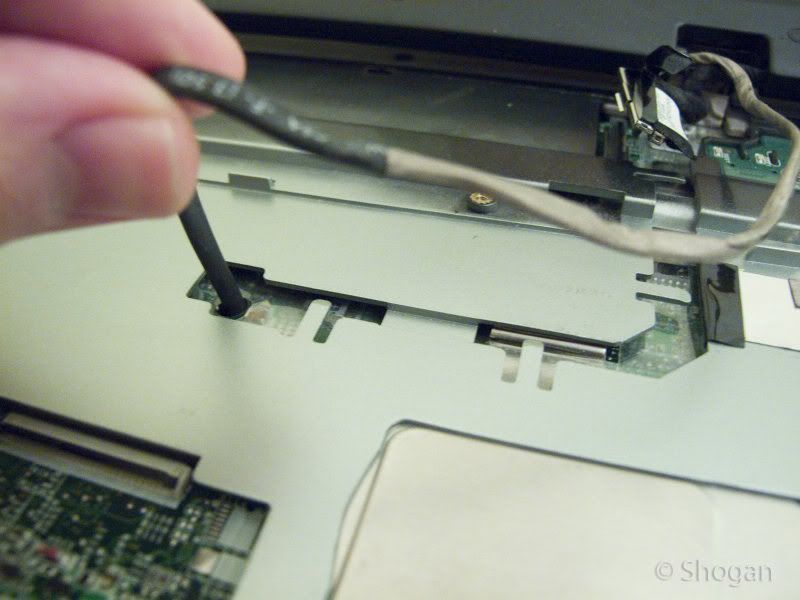
6. You can now tug carefully on the pigtail connector that runs under the keyboard and onto the wireless card (we have previously disconnected the pigtails). Pull this out until it is free from under the laptop. Be careful when it goes through the small hole on the motherboard.
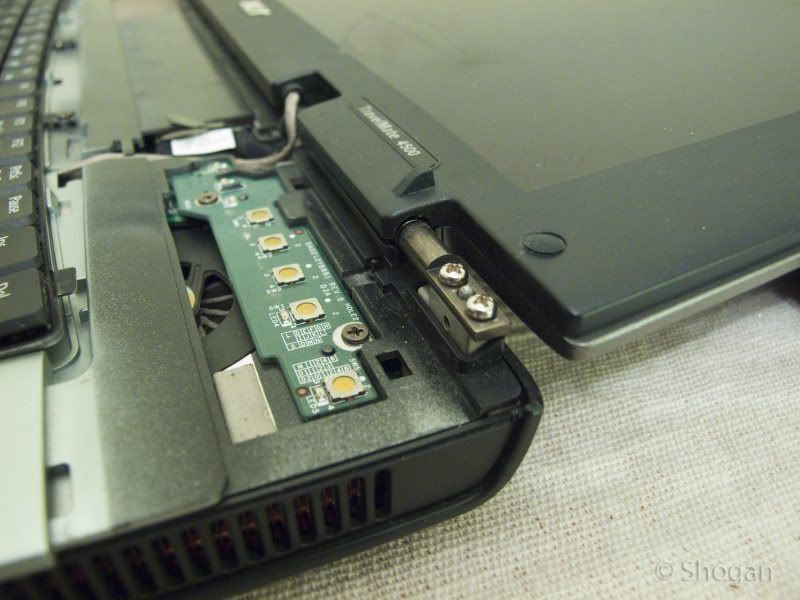
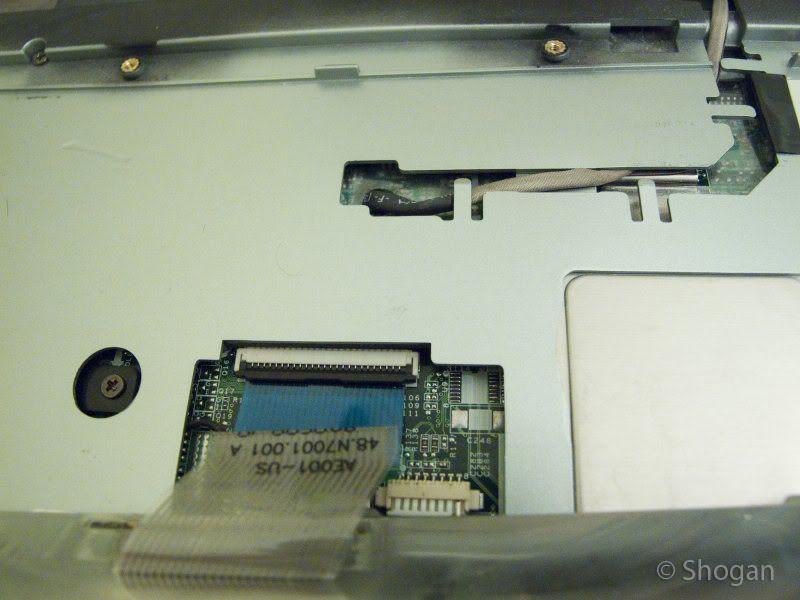
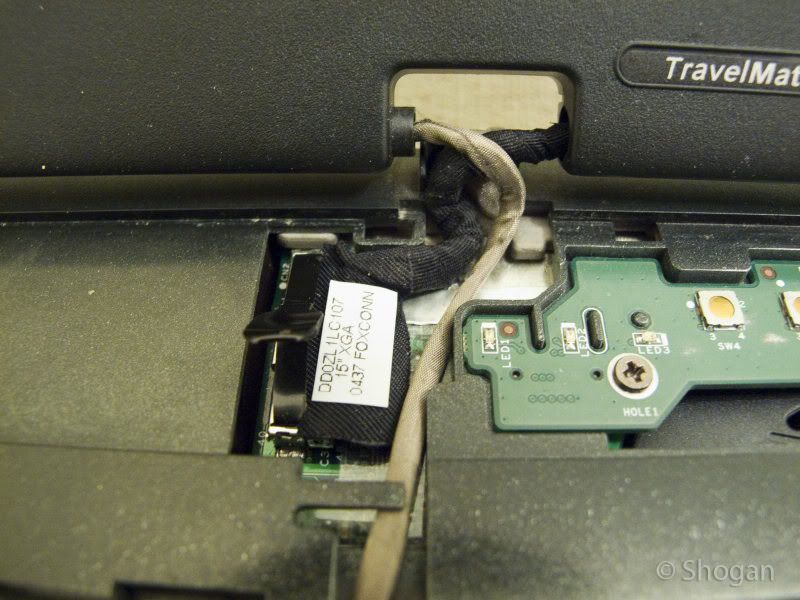
7. The main black coloured cable coming out from the LCD and connecting on to the motherboard is your main LCD connection. Carefully lift this off the motherboard, using the tag on the back of the connector to pull.
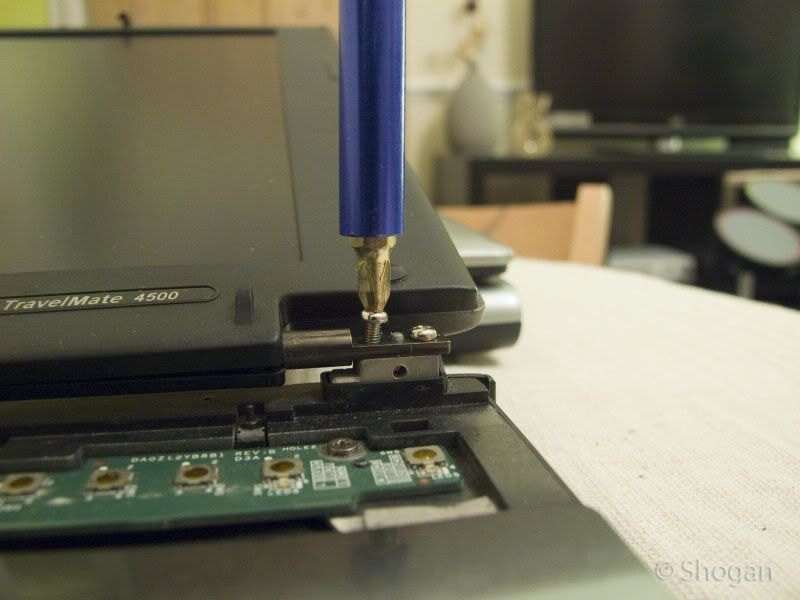
8. Once both the LCD cables are free we can now unscrew the main screws holding the LCD on to the laptop chassis. On these acers there are two on each side. PS. keep all your screws in a safe place so we can put everything back later!
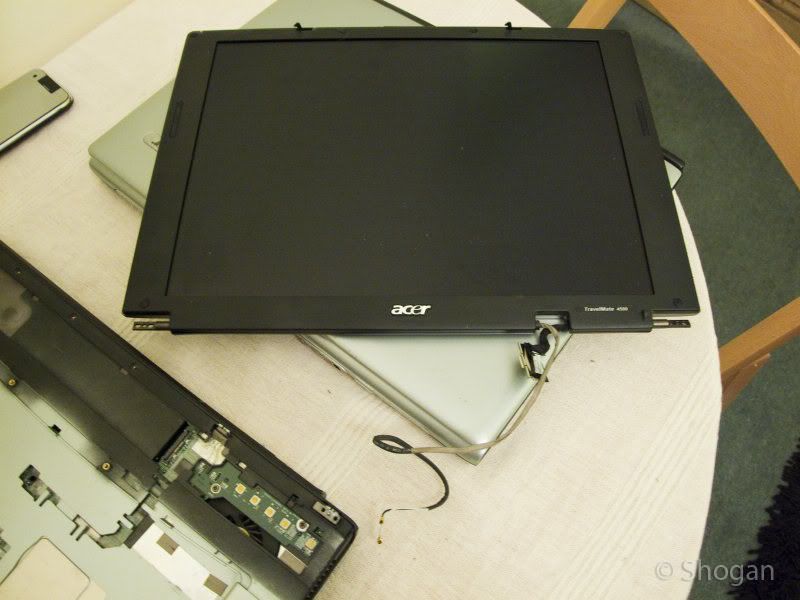
9. We should now have a separate laptop LCD disconnected from the main chassis.
10. Do the same procedure as above but this time for the laptop that is going to receive the working LCD. Don’t get these muddled up now!
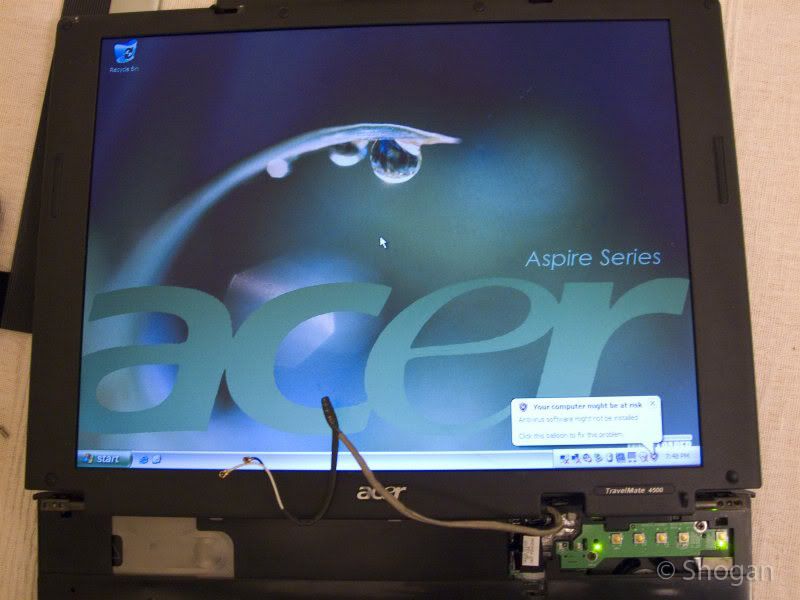
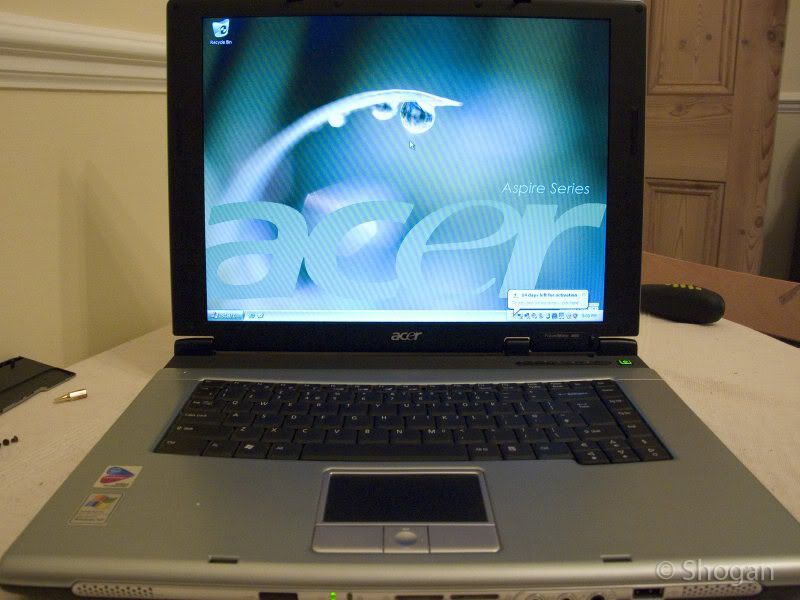
11. Once I had the working LCD off the other laptop, I hooked the main connector up to the receiving laptop with it lying down on the table to test. This was to ensure the new LCD was compatible and working as expected. See image below:
12. This was working so I shut the laptop down, removed the battery again and proceeded to remove the LCD from the top lid’s chassis to swap out. (I could have just moved the entire lid from one to the other laptop but the colour was slightly different and I was fussy)!
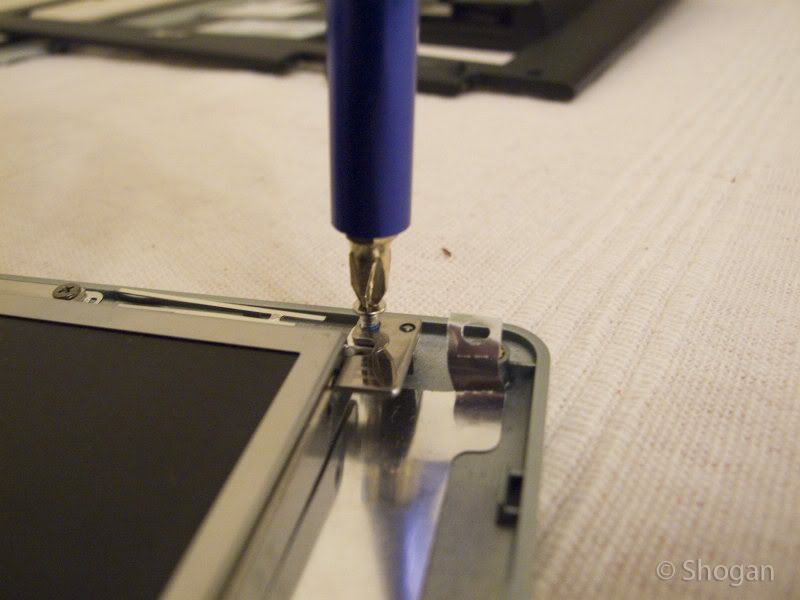
Start by removing the 4 x rubber pads from each corner of the LCD and unscrewing these 4 x screws.
Once done, you can now carefully pry open the edge of the LCD lid as below:
Once this has been carefully remove (The outer black frame of the lid), we can remove the screws inside the lid that hold the actual LCD panel in.
You also need to unplug the LCD controller panel’s plugs and unscrew a grounding wire.
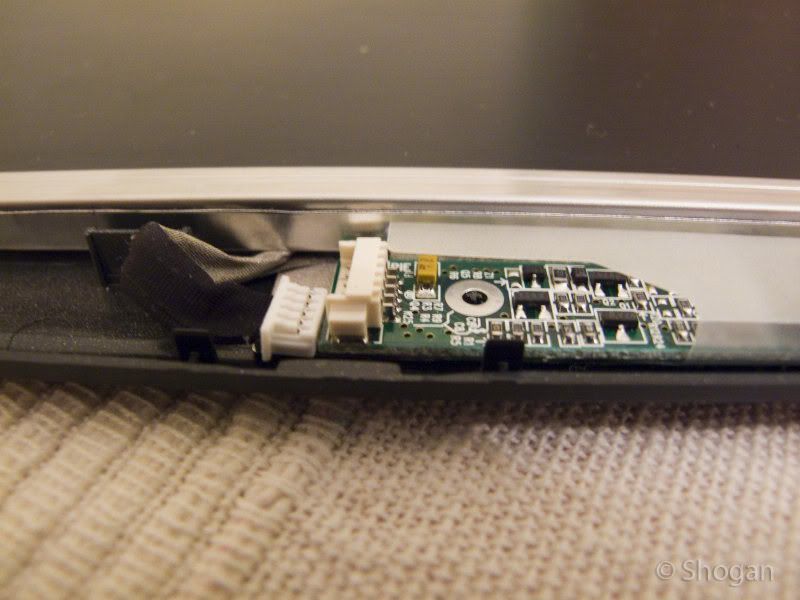
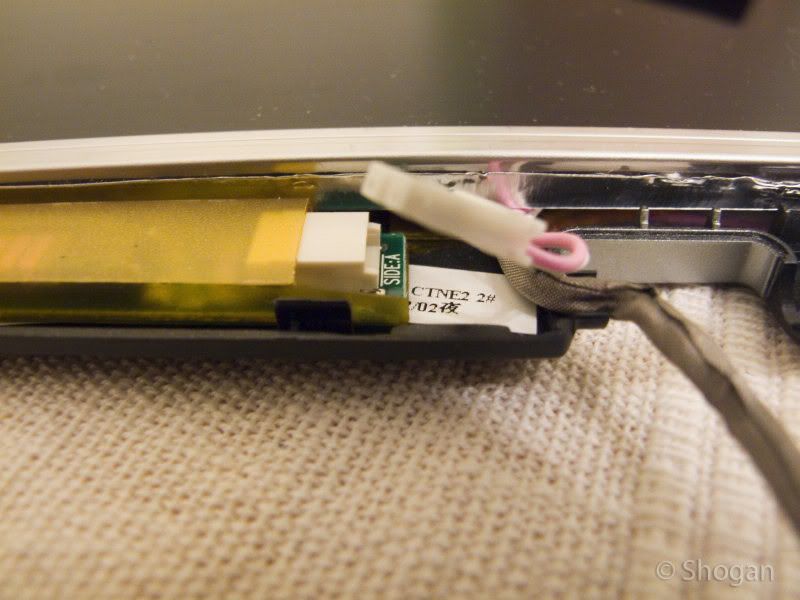
Do the same for the other LCD panel and remember which one is working and which doesn’t. Swap the working LCD over into the lid chassis you would like to use and screw everything back in. Make sure the cables are not getting pinched anywhere and run neatly out the bottom of the lid. Plug your two connectors back in to the LCD controller at the bottom of the lid and screw your grounding wire (black) back in (this is also next to the two cables at the bottom of the lid).
13. Re-assemble the lid and finally reconnect your LCD signal/power cable back to the laptop’s motherboard. Fasten the 4 x screws (2 x on each side) that hold the LCD Lid and panel to the laptop’s main chassis. Route the wireless pigtail wire back under the keyboard panel through the hole under the wireless card and reconnect the two pigtail connectors to the wireless card. Replace the back panel that covers the RAM and wireless card.
14. Place the keyboard ribbon connector back in and snap the black retainer clip over the ribbon to hold it in place. Screw the two screws back in to hold the keyboard down.
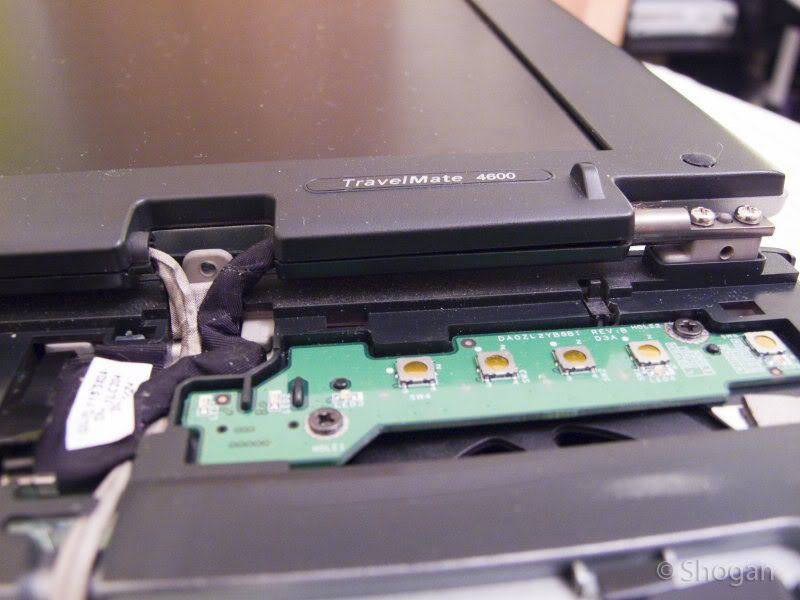
15. Replace the hinge panel over the LCD connector on the motherboard (you’ll need to fold the LCD all the back as far as it will go first). This panel is the same panel that has your power button on and is the same panel we removed earlier in step 3.
Replace the 3 x screws on the back hinges and ensure you haven’t missed any other screws anywhere and that everything looks good to go.
Replace your battery, lock the battery in and power up. You should hopefully now have a working LCD! Enjoy.
Hope this helps someone wanting to fix or replace their LCD panel in the future!