I purchased my first 3D printer about 6 months ago after having putting the idea off for a year or so before that. For a while now I’ve had a fascination with being able to use 3D printing for hobby projects and bespoke creations.
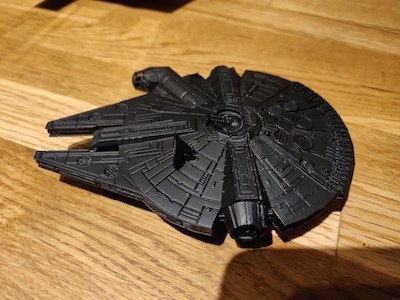
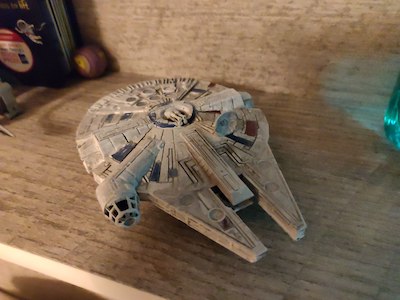
From purchase until just recently I had only been printing 3D models for fun. Figurines, Star Wars replicas, and other random items. I even printed a Millenium Falcon (in two halves) and painted it for my oldest son.
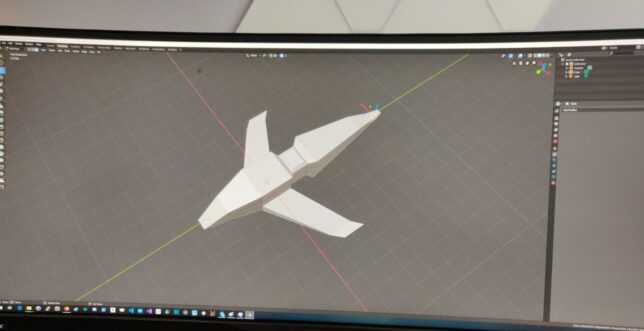
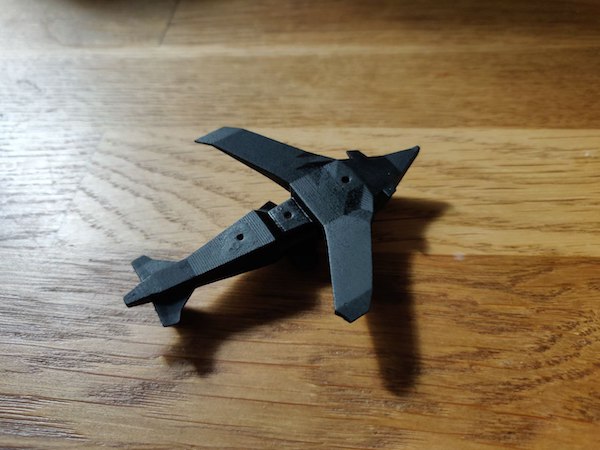
After printing these pre-made 3D models, my oldest son and I sat together and created a simple ‘dropship’ model in Blender which we also printed.
These have all been a lot of fun, but after a while I had a hankering to use the 3D printer for some good around the house too.
3D printing useful parts
The printer I am using is the Elegoo Mars. It uses UV photocuring technology to print models out of a liquid resin. The printing plate lifts up from the resin basin and UV light is shone from underneath, emitted by an LCD panel. This cures the resin on the print plate one layer at a time.
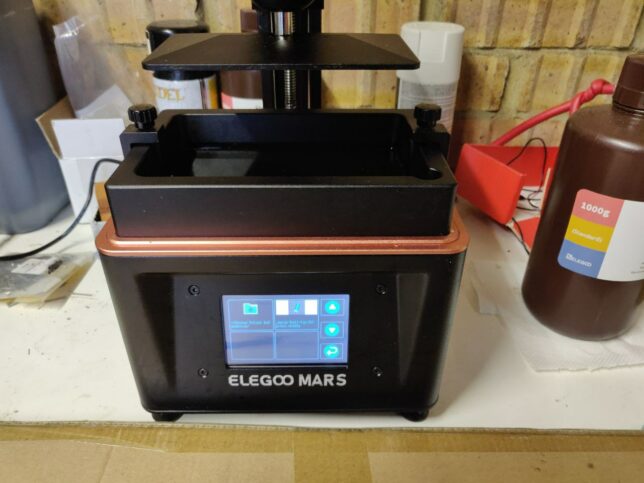
The main benefit of this compared to FDM printers is that you can get a really good level of detail (resolution). One of the bigger downsides to this however is that the cured resin is more brittle.
The Elegoo Mars was a very cheap entry point for me to get started and I’m happy with the limitations (especially when considering the great detail that is achievable).
Printing a fake water tank handle
The reason I had this idea was to put in a fake water tank handle for our outdoors water butt.
Our 1.5 year old is currently a huge fan of running water and has learned how to open this tap and drain our collected rain water. One option would have been a lockable cover to go over the tap handle, but why do that when you can create your own solution?
I pulled out the tap handle and observed how it lets the water out when turned. Basically the tap handle shaft has a circular cut out on one side. Turning this aligns the hole with the opening in the water tank and allows water to flow through. Turning it further closes the hole again.
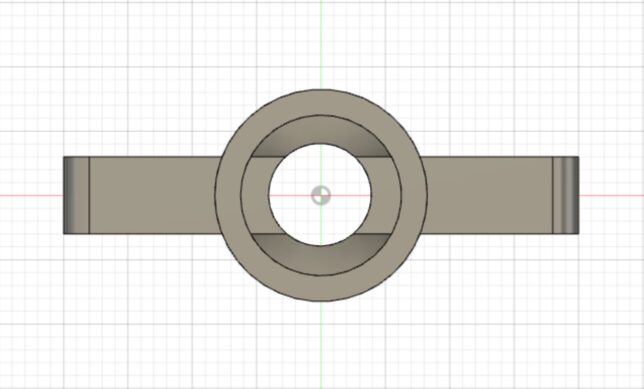
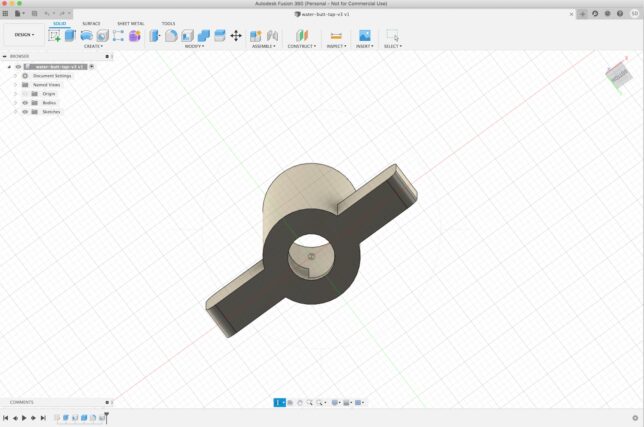
The ‘fake’ tap handle solution is pretty simple, replicate the part, but close the hole in the shaft.
Design
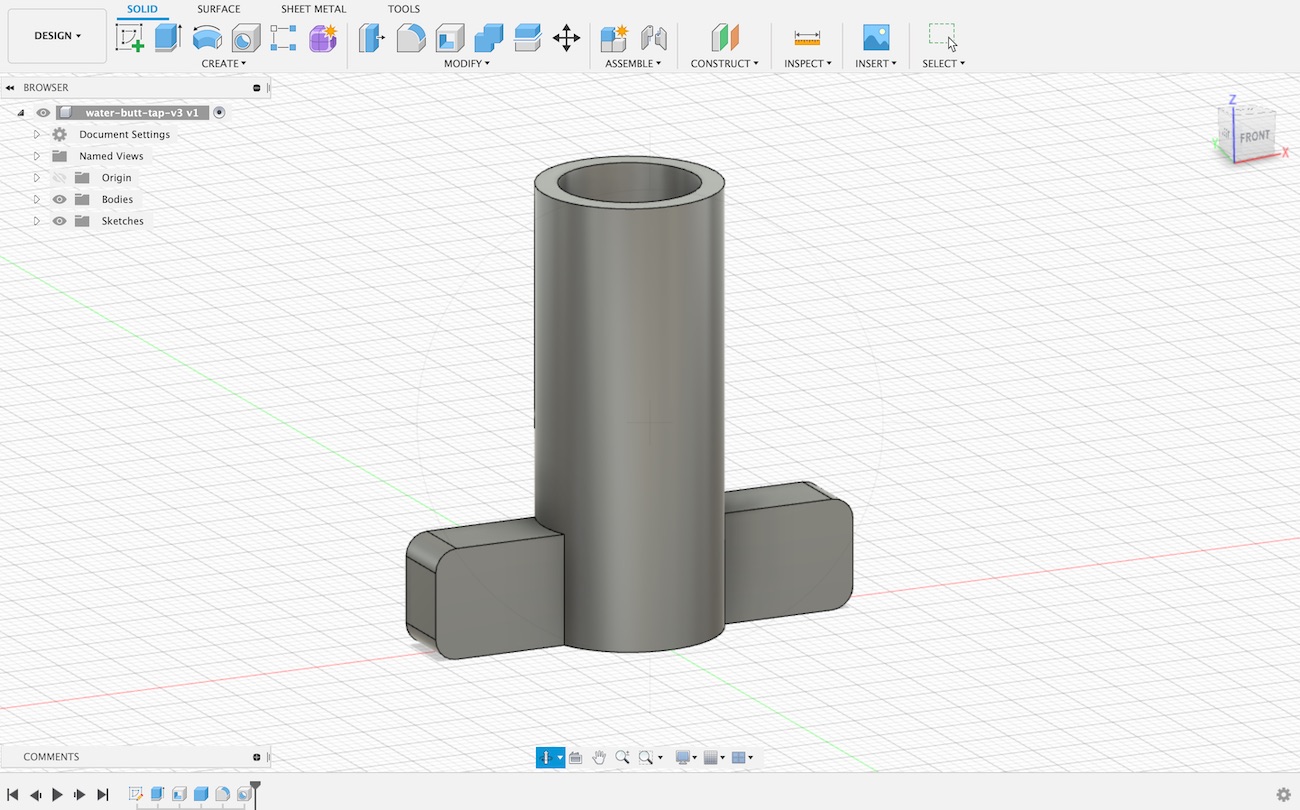
I’ve used Blender for more creative projects in the past, but decided to move onto something more suited for CAD and 3D printing. A friend recommended Fusion 360. After trying it out for this project I can highly recommend it.
It allows you to design your parts in stages. If at some point you want to reconfigure the design and change measurements, the process is simple. You go to that stage, apply the new measurement, and the software will ‘replay’ that through the remaining stages. Your whole design adjusts accordingly.
Result
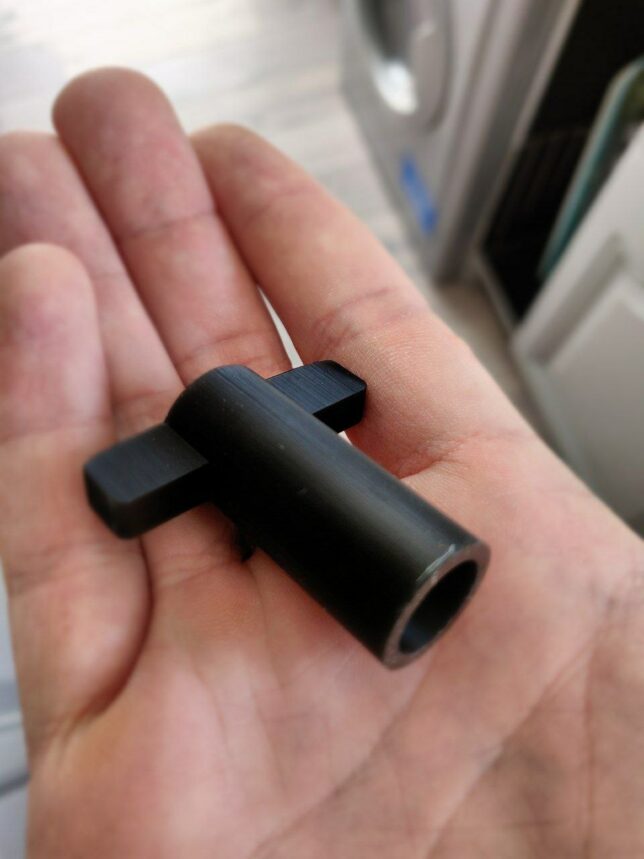
The resulting print shown below is actually the second iteration. The first design I made didn’t have a strong enough handle.
In the video above you can see the water tap in action. Turning it to any angle keeps the water flow blocked now. On the ground you can see the original water tap which is now just simply kept out of reach for when we actually need to use the water.
It is possible to pull the fake tap out as you can see above, but for a small toddler it is not easily possible. In order to keep it water tight, I had to get the measurement just right so as not to leak, but also not be too tight to remove again.
This is post #6 in my effort towards 100DaysToOffload.
