This evening I finally got a little time to play around with Waypoint. This wasn’t a straightforward install of Waypoint on my desktop though. I wanted to run and test HashiCorp Waypoint Server on Raspberry Pi. Specifically on my Pi Kubernetes cluster.
Out of the box Waypoint is simple to setup locally, whether you’re on Windows, Linux, or Mac. The binary is written in the Go programming language, which is common across HashiCorp software.
There is even an ARM binary available which lets you run the CLI on Raspberry Pi straight out of the box.
Installing Hashicorp Waypoint Server on Raspberry Pi hosted Kubernetes
I ran into some issues initially when assuming that waypoint install --platform=kubernetes -accept-tos would ensure an ARM docker image was pulled down for my Pi based Kubernetes hosts though.
My Kubernetes cluster also has the nfs-client-provisioner setup, which fulfills PersistentVolumeClaim resources with storage from my home FreeNAS Server Build. I noticed that PVCs were not being honored because they did not have the specific storage-class of nfs-storage that my nfs-client-provisioner required.
Fixing the PVC Issue
Looking at the waypoint CLI command, it’s possible to generate the YAML for the Kubernetes resources it would deploy with a --platform=kubernetes flag. So I fetched a base YAML resource definition:
waypoint install --platform=kubernetes -accept-tos --show-yaml
I modified the volumeClaimTemplates section to include my required PVC storageClassName of nfs-storage.
volumeClaimTemplates:
  - metadata:
      name: data
    spec:
      accessModes: [ "ReadWriteOnce" ]
      storageClassName: nfs-storage
      resources:
        requests:
          storage: 1Gi
That sorted out the pending PVC issue in my cluster.
Fixing the ARM Docker Issue
Looking at the Docker image that the waypoint install command for Kubernetes gave me, I could see right away that it was not right for ARM architecture.
To get a basic Waypoint server deployment for development and testing purposes on my Raspberry Pi Kubernetes Cluster, I created a simple Dockerfile for armhf builds.
Basing it on the hypriot/rpi-alpine image, to get things moving quickly I did the following in my Dockerfile.
- Added few tools, such as cURL.
- Added a RUN command to download the waypoint ARM binary (currently 0.1.3) from Hashicorp releases and place in /usr/bin/waypoint.
- Setup a /data volume mount point.
- Created a waypoint user.
- Created the entrypoint for /usr/bin/waypoint.
You can get my ARM Waypoint Server Dockerfile on Github, and find the built armhf Docker image on Docker Hub.
Now it is just a simple case of updating the image in the generated YAML StatefulSet to use the ARM image with the ARM waypoint binary embedded.
containers:
- name: server
  image: shoganator/waypoint:0.1.3.20201026-armhf
  imagePullPolicy: Always
With the YAML updated, I simply ran kubectl apply to deploy it to my Kubernetes Cluster. i.e.
kubectl apply -f ./waypoint-armhf.yaml
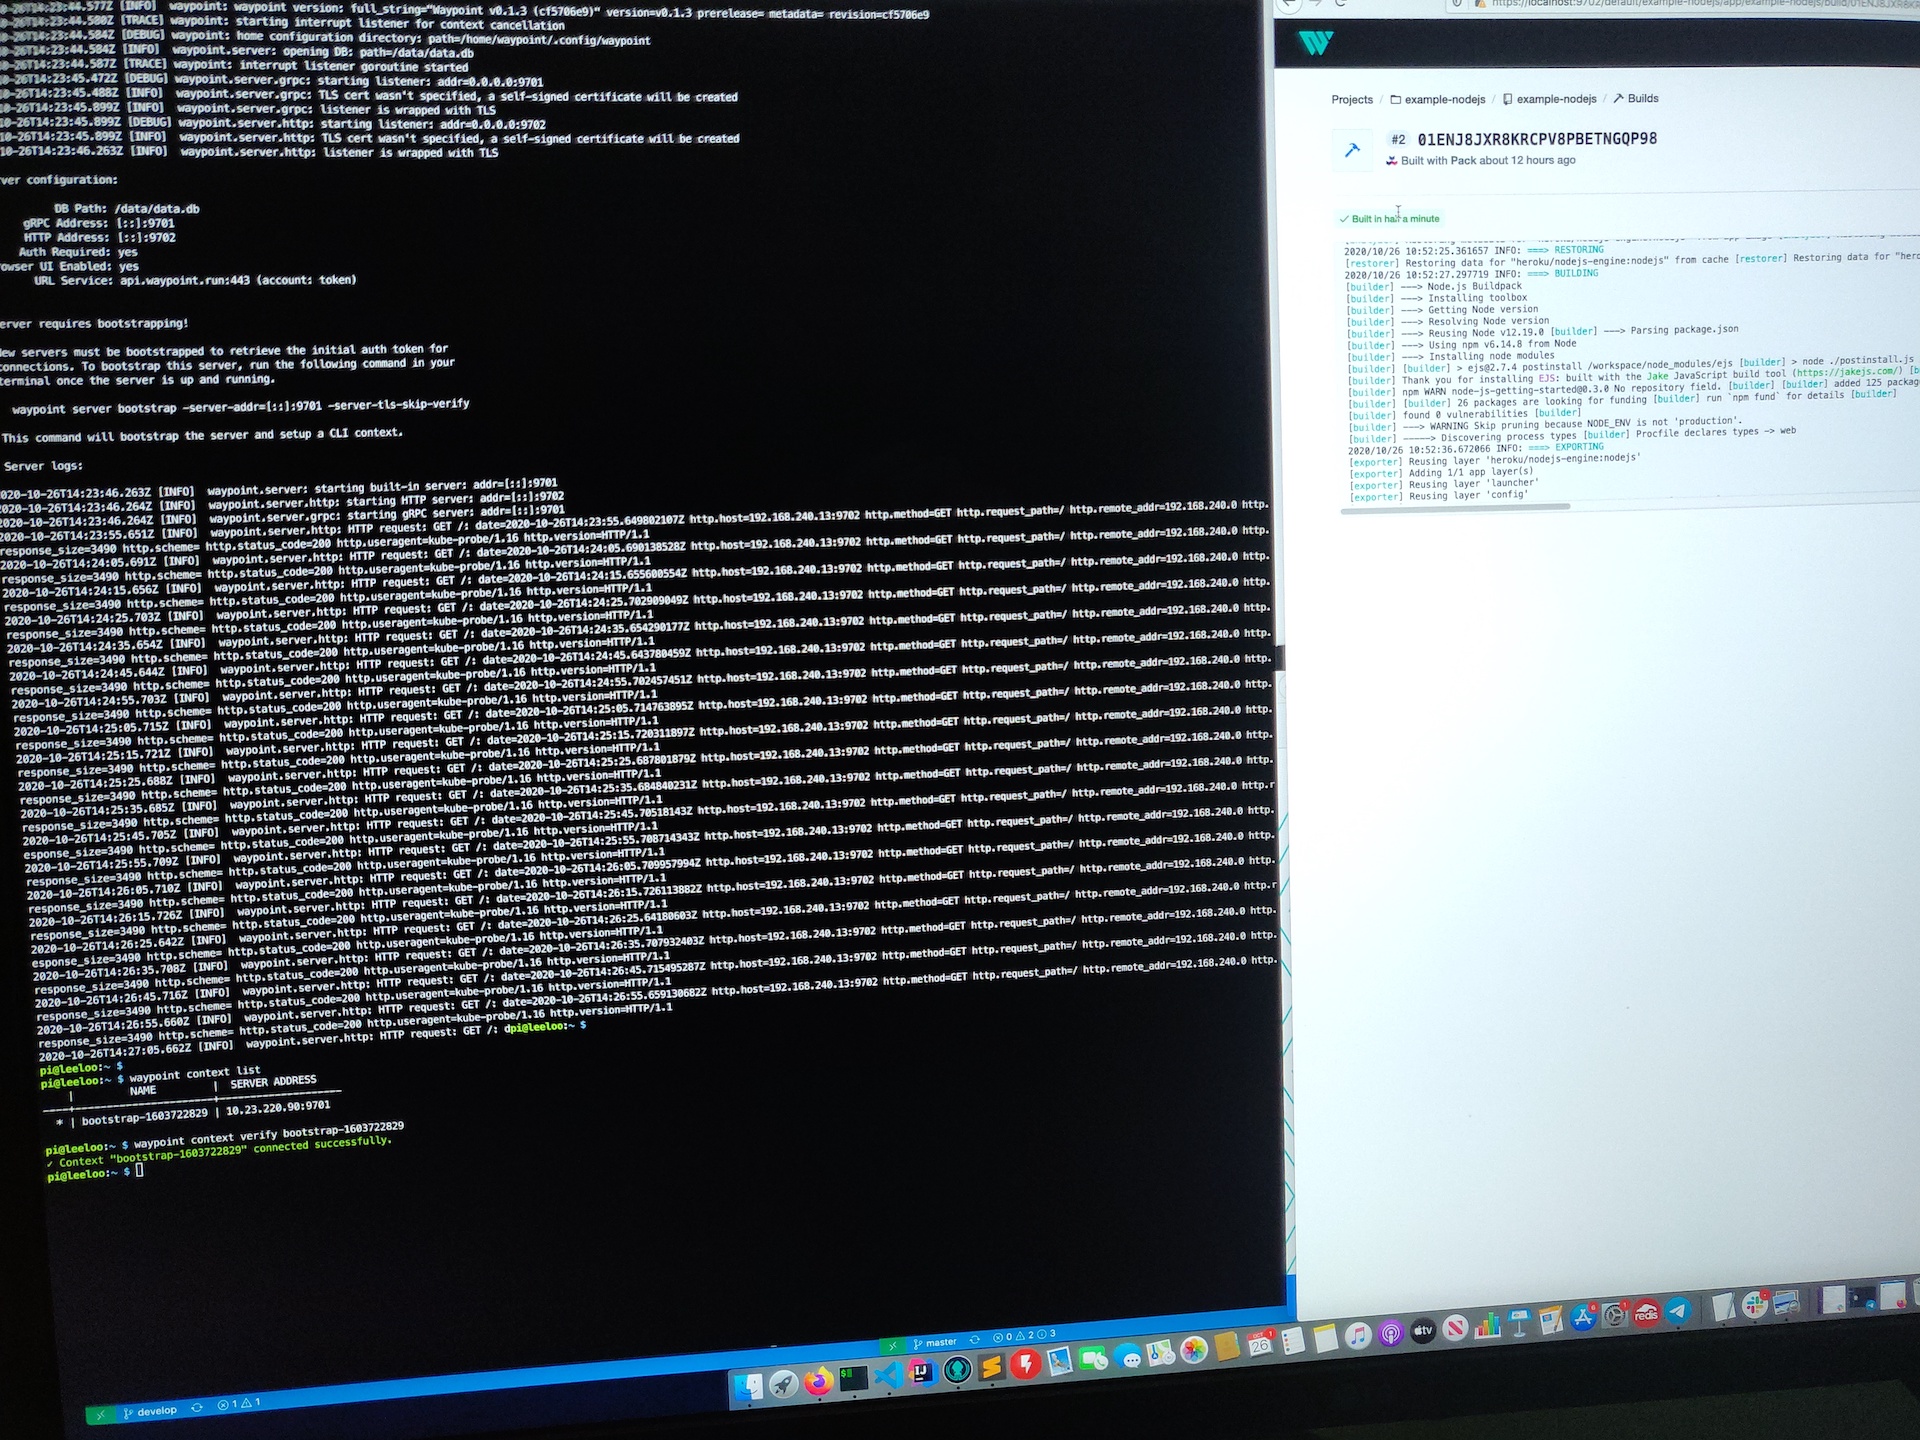
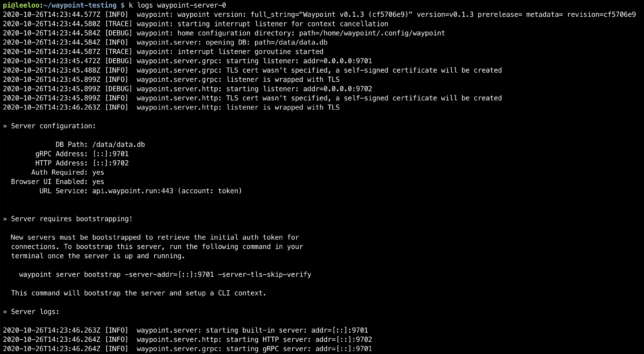
Now Waypoint Server was up and running on my Raspberry Pi cluster. It just needed bootstrapping, which is expected for a new installation.
Configuring Waypoint CLI to Connect to the Server
Next I needed to configure my internal jumpbox to connect to Waypoint Server to verify everything worked.
Things may differ for you here slightly, depending on how your cluster is setup.
Waypoint on Kubernetes creates a LoadBalancer resource. I’m using MetalLB in my cluster, so I get a virtual LoadBalancer, and the EXTERNAL-IP MetalLB assigned to the waypoint service for me was 10.23.220.90.

My cluster is running on it’s own dedicated network in my house. I use another Pi as a router / jumpbox. It has two network interfaces, and the internal interface is on the Kubernetes network.
By getting an SSH session to this Pi, I could verify the Waypoint Server connectivity via it’s LoadBalancer resource.
curl -i --insecure https://10.23.220.90:9702

HTTP/1.1 200 OK
Accept-Ranges: bytes
Content-Length: 3490
Content-Type: text/html; charset=utf-8
Last-Modified: Mon, 19 Oct 2020 21:11:45 GMT
Date: Mon, 26 Oct 2020 14:27:33 GMT
Bootstrapping Waypoint Server
On a first time run, you need to bootstrap Waypoint. This also sets up a new context for you on the machine you run the command from.
The Waypoint LoadBalancer has two ports exposed. 9702 for HTTPS, and 9701 for the Waypoint CLI to communicate with using TCP.
With connectivity verified using curl, I could now bootstrap the server with the waypoint bootstrap command, pointing to the LoadBalancer EXTERNAL-IP and port 9701.
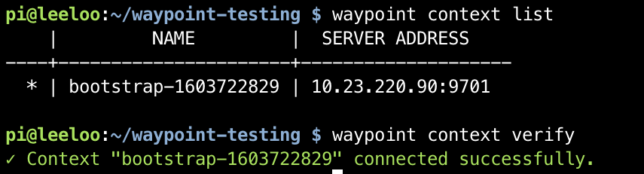
waypoint server bootstrap -server-addr=10.23.220.90:9701 -server-tls-skip-verify
waypoint context list
waypoint context verify
This command gives back a token as a response and sets up a waypoint CLI context from the machine it ran from.
Using Waypoint CLI from a machine external to the Cluster
I wanted to use Waypoint from a management or workstation machine outside of my Pi Cluster network. If you have a similar network setup, you could also do something similar.
As mentioned before, my Pi Router device has two interfaces. A wireless interface, and a phyiscal network interface. To get connectivity over ports 9701 and 9702 I used some iptables rules. Importantly, my Kubernetes facing network interface is on 10.0.0.1 in the example below:
sudo iptables -t nat -A PREROUTING -i wlan0 -p tcp --dport 9702 -j DNAT --to-destination 10.23.220.90:9702
sudo iptables -t nat -A POSTROUTING -p tcp -d 10.23.220.90 --dport 9702 -j SNAT --to-source 10.0.0.1
sudo iptables -t nat -A PREROUTING -i wlan0 -p tcp --dport 9701 -j DNAT --to-destination 10.23.220.90:9701
sudo iptables -t nat -A POSTROUTING -p tcp -d 10.23.220.90 --dport 9701 -j SNAT --to-source 10.0.0.1
These rules have the effect of sending traffic destined for port 9701 and 9702 hitting the wlan0 interface, to the MetalLB IP 10.23.220.90.
The source and destination network address translation will translate the ‘from’ address of the TCP reply packets to make them look like they’re coming from 10.0.0.1 instead of 10.23.220.90.
Now, I can simply setup a Waypoint CLI context on a machine on my ‘normal’ network. This network has visibility of my Raspberry Pi Router’s wlan0 interface. I used my previously generated token in the command below:
waypoint context create -server-addr=192.168.7.31:9701 -server-tls-skip-verify -server-auth-token={generated-token-here} rpi-cluster
waypoint context verify rpi-cluster

Concluding
Waypoint Server is super easy to get running locally if you’re on macOS, Linux or Windows.
With a little bit of extra work you can get HashiCorp Waypoint Server on Raspberry Pi working, thanks to the versatility of the Waypoint CLI!