I enjoy game development as a hobby on the side. I also enjoy working with container schedulers like Kubernetes. Over the weekend I decided to create a Kubernetes game, combining those two thoughts.
In the game you enter and explore nodes in your cluster, and can destroy your very own live, running pods. Hide prod away!
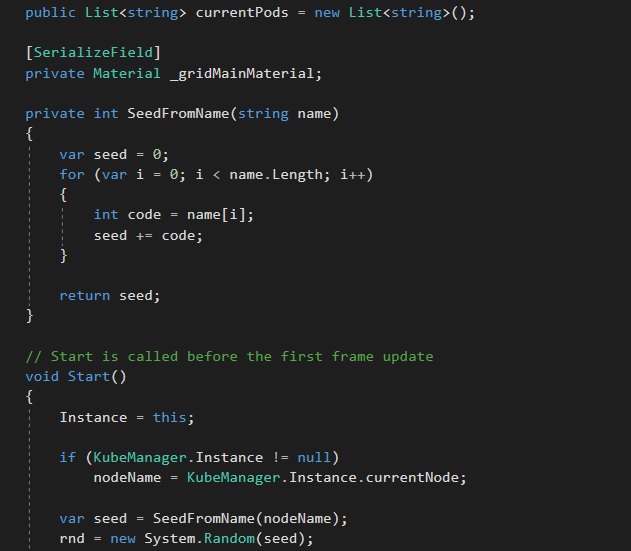
The game is put together using my engine of choice, Unity. With Unity you code using C#.
Game Logic
The game logic was simple to put together. I have a couple of modular systems I’ve already developed (and actually sell on the Unity Asset Store), so those made the movement and shooting logic, as well as background grid effects a breeze.
Movement is implemented in a simple ‘twin-stick’ controller Script (a Unity concept, which is a class implementing Monobehaviour).
Other game logic is mostly contained in the bullet pattern module. I have some more Scripts that arrange and control the Kubernetes entities as well as their labels.
The interaction with Kubernetes itself is fairly hacked together. I wanted to put the game together as quickly as possible as I only worked on it over a couple of weekend evenings.
Unity is a bit behind in .NET Framework version support and .NET Core was out of the question. This meant using the Kubernetes csharp client was not going to happen easily (directly in Unity that is). It would have been my first choice otherwise.
With that in mind, I skipped over to a hacky solution of invocating the kubectl client directly from within the game.
The game code executes kubectlcommands on threads separate to the main game loop and returns the results formatted accordingly, back to the game’s main thread. I used System.Diagnostics.Process for this.
From there, game entities are instantiated and populated with info and labels. (E.g. the nodes and the pods).
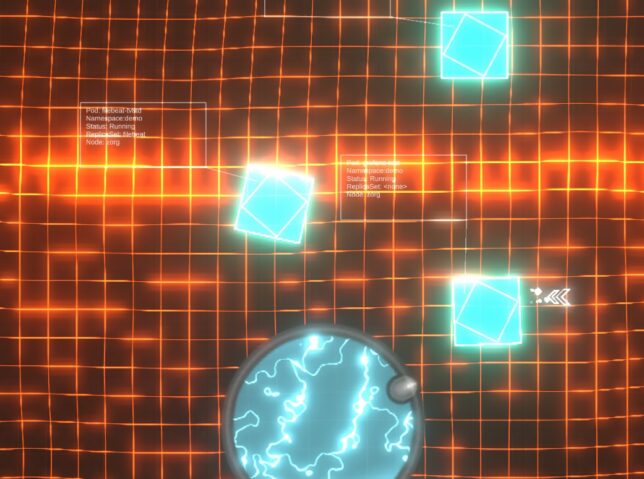
Pods have health
Pods are given health (hit points) and they simply bounce around after spawning in. You can chase after and shoot them, at which point a kubectl destroy pod command is actually sent to the Kube API via kubectl!
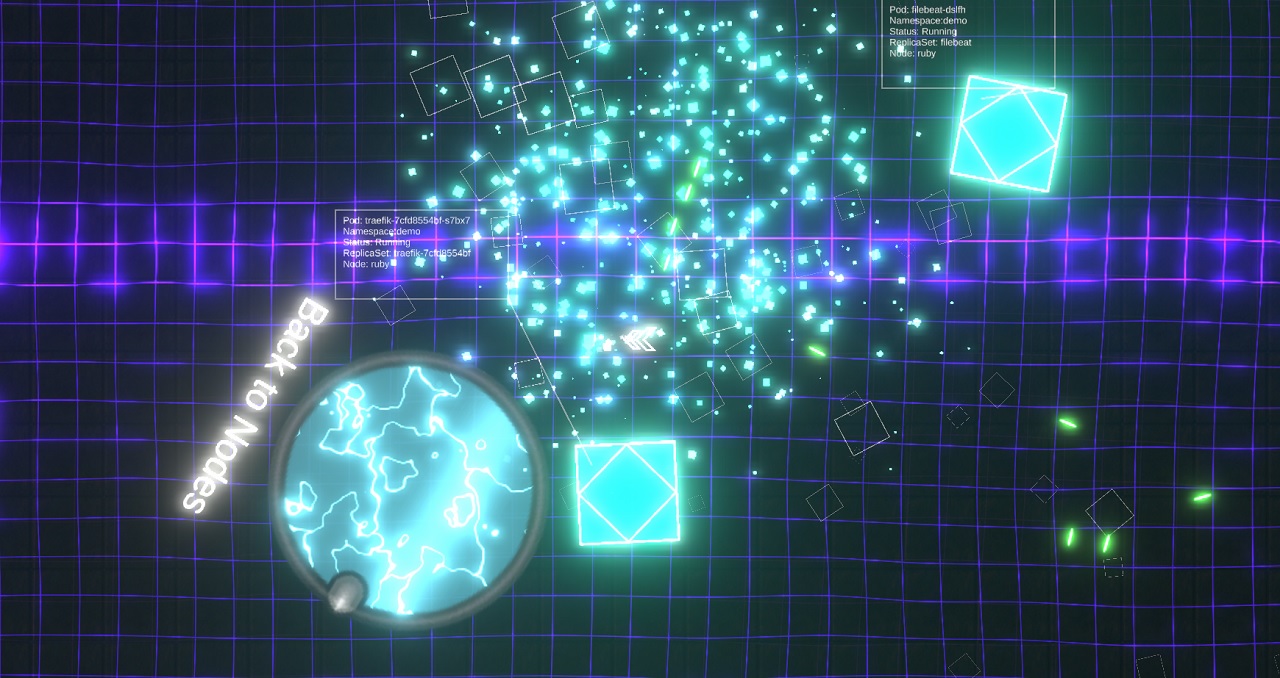
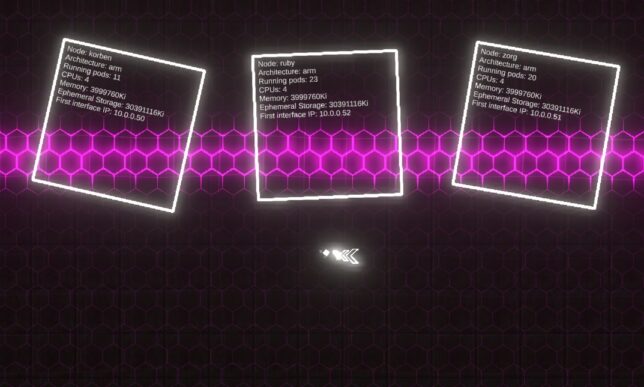
The game world
You enter the world in a ‘node’ view, where you can see all of your cluster’s nodes. From there you can approach nodes to have them slide open a ‘door’. Entering the door transports you ‘into’ the node, where you can start destroying pods at will.
For obvious reasons I limit the pods that are destroyable to a special ‘demo’ namespace.
Putting together the demo pods
I use a great little tool called arkade in my Kubernetes Pi cluster.
Arkade offers a small library of useful and well thought out apps that are simple to install. The CLI provides strongly-typed flags to install these apps (or any helm charts) in short, one-line operations.
It also handles the logic around figuring out which platform you’re running on, and pulling down the correct images for that platform (if supported). Super useful when you’re on ARM as you are with the Raspberry Pi.
Straight from the GitHub page, this is how simple it is to setup:
# Note: you can also run without `sudo` and move the binary yourself
curl -sLS https://dl.get-arkade.dev | sudo sh

arkade --help
ark --help  # a handy alias

# Windows users with Git Bash
curl -sLS https://dl.get-arkade.dev | sh
I then went about installing a bunch of apps and charts with arkade. For example:
arkade install loki --namespace demo
Hooking the game up to my Kube Cluster
With the demo namespace complete, and the application pods running, I needed to get my Windows machine running the game talking to my Pi Cluster (on another local network).
I have a Pi ‘router’ setup that is perfectly positioned for this. All that is required is to run a kube proxy on this, listening on 0.0.0.0 and accepting all hosts.
kubectl proxy --address='0.0.0.0' --port=8001 --accept-hosts='.*'
I setup a local kube config pointing to the router’s local IP address on the interface facing my Windows machine’s network, and switched context to that configuration.
From there, the game’s kubectl commands get sent to this context and traverse the proxy to hit the kube API.
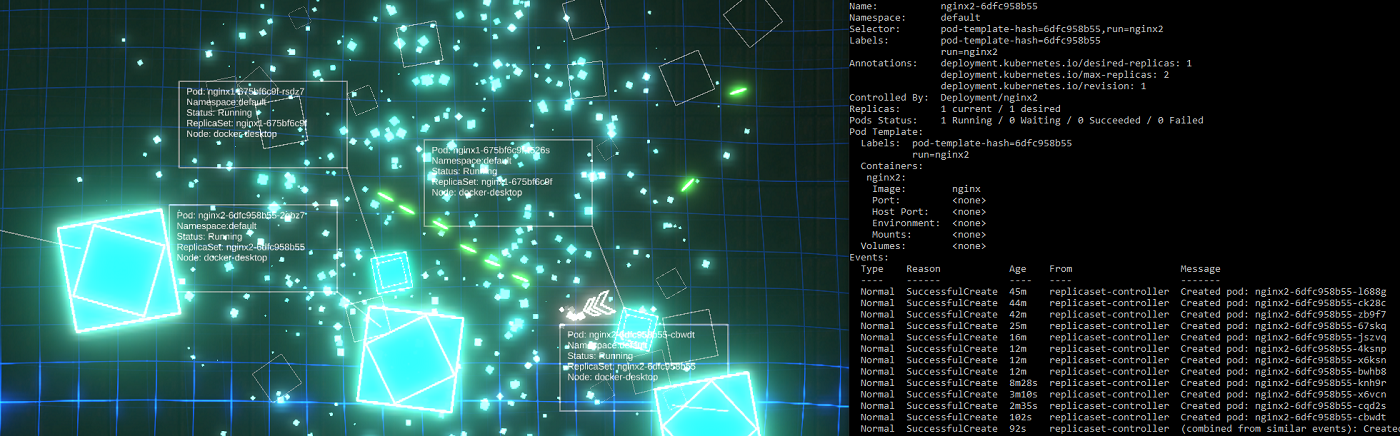
Destroying pods sure does exercise those ReplicaSets!
Source
If there is any interest, I would be happy to publish the (hacky) source for the main game logic and basic logic that sends the kubectl processes off to other threads.
This is post #5 in my effort towards 100DaysToOffload.