Developing my own small twitter “tweet” application

The last time I did any coding in VB was probably 11 years ago when I was 13 or 14 in high school. I used to take computer science as a seventh subject (learning Turbo Pascal) and dabbled in a bit of Visual Basic in my spare time. I created a computer mouse / keyboard training application for a local pre-primary school that helped the kids (4 year olds) learn to use a PC and develop their hand-eye coordination.

So last night I decided I would take a look at the twitter API and see if I could make anything useful with Visual Studio 2008. I came up with this small twitter application, which allows you to post updates also known as “tweets” to your twitter status page. It has the following features so far:

1. Twitter username and password entry with option to save these details on the local PC.
2. An area to type your actual “tweet” with character limit counters (you can only have 140 chars per tweet).
3. The obvious Update button to send the “tweet”
4. A quick logo that I did to make the interface look a bit more interesting.

I will follow this post up soon with some detail on how I did the coding itself (as requested by c0d3r and youknow – for the purposes of ridiculing my noob vb code!). Nothing special though – I just followed a couple of tutorials that I found on the net. Also thanks to PlutoSA for refreshing my memory on doing a counter!

Here is how it looks so far…

tweet-app

VMware Partner Forum 2009, Esher

I just got back from the VMware Partner Forum 2009 in Esher. It was held at the Sandown Park Racecourse this year. I attended a bunch of different break out sessions choosing the most interesting or applicable options for myself. Here is what I attended at the forum:

1. Keynote
2. How to upsell vSphere for VI3 customers – 5 great reasons to upgrade customers from VI3 to vSphere 4.
3. Partner enablement – Profit from your knowledge and meet your new competency requirements.
4. Technical session – Configure Host Profiles / Distributed Virtual Switch.
5. Hosting – vCloud and the VMWare Service Provider Program.
6. Technical session – Upgrade VI3 to vSphere 4.

There were lots of refreshments and breaks in-between each session as well as a great lunch.

Naturally I found the technical sessions the most interesting. In the Upgrade VI3 to vSphere 4 session I found out about the three different methods of upgrading ESX 3/3.5 Hosts to vSphere 4.0. The Host Profiles / dvSwitch session was something I already knew about, but had not yet tried it in a lab environment until today.

Hosting was quite interesting too – there were a bunch of people that got caught out providing hosted vmware solutions to the public without the required partner program status. Good thing my company has the necessary credentials to provided hosted platforms!

I also got to see a demo of Veeam’s new Backup 4.0 – still in development but they have many improvements and new features.

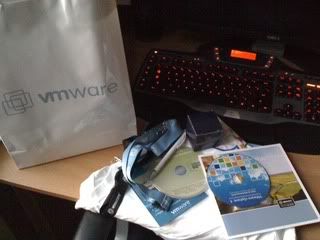
As per usual there was a bag of goodies given out to each attendee.

Backblaze storage pods – excellent value for money storage in the datacenter

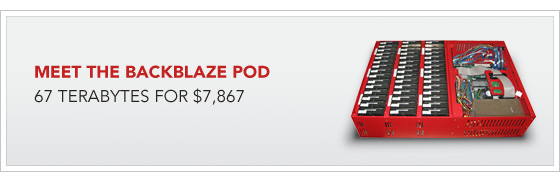
I know this is old now, but a while back I came across this blog post by the company Backblaze. They detail how they build these custom “storage pods” that get rack mounted in their datacenter for online storage. In their post, they show how using this method they manage to save tons of money that would have been otherwise spent on Amazon S3 storage, EMC / Dell or Sun solutions. Each storage pod can be looked at as one building block of a much larger storage solution.

I think this design is great and if I had the space / resources I would defintely attempt one of these as a project for myself. To quote their site, the storage pods contain the following hardware:

“one pod contains one Intel Motherboard with four SATA cards plugged into it. The nine SATA cables run from the cards to nine port multiplier backplanes that each have five hard drives plugged directly into them (45 hard drives in total).”

Here is a youtube video showing the design of one storage pod.

httpv://www.youtube.com/watch?v=Wm7Rp5u8Q1g&feature=player_embedded

Read up more at Backblaze blog

My workspace and hardware zen

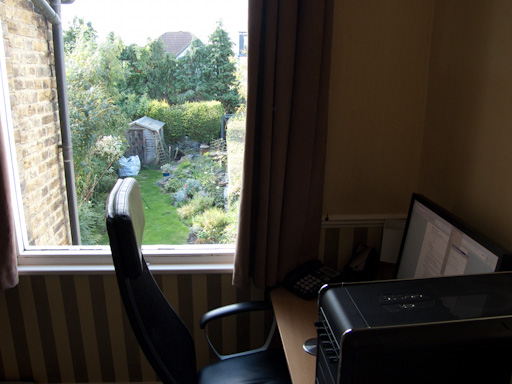
Everyone has their own relax or zen area where they like to spend time getting away from reality and de-stressing. One of mine just happens to be the same place where I get a lot of work done – my main gaming platform and home office area! Since we moved into our new flat, I found that there wasn’t much space to set up my PC. Last weekend I whipped out the old jigsaw and sliced a couple of inches off the side of my PC desk in order to get it to fit into this corner.

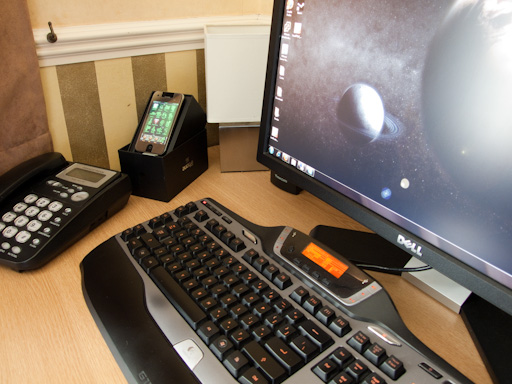
I then decided to neaten up and organise everything a bit to enhance my working conditions when I do work from home. I made a “ghetto” iPhone dock out of the packaging the phone came in, using the plastic dish the phone is cradled in. I cut out a small area at the bottom for the iPhone connector to fit in, then routed the cabling into the box itself, which sits diagonally in the lid of the box, flipped upside down. The cable then comes out the back and plugs in to the power socket behind my desk. This keeps the cabling nice and neat and I just plonk the phone down into the dock when I get home for a charge. I don’t need a USB connection to the PC as I have SSH enabled via a jailbreak – I therefore use Wifi access and WinSCP or SCP from Putty to transfer files between PC and phone.

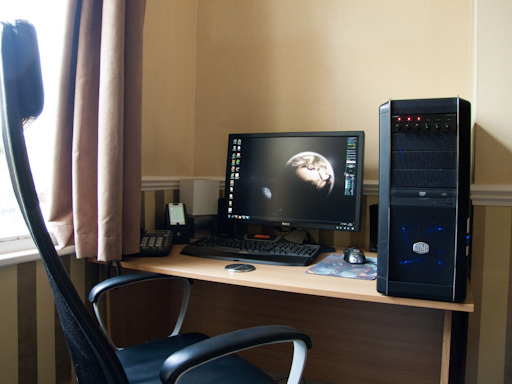
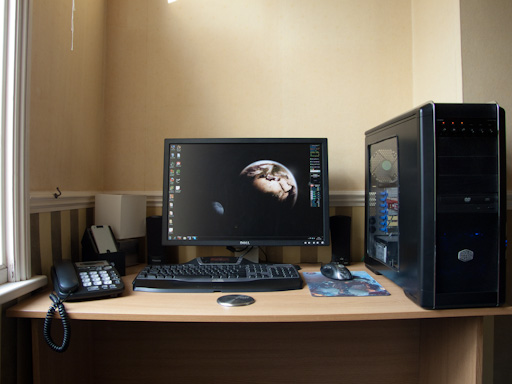
Behind this is my touch sensitive desk lamp, in front of the dock is my work IP phone which connects up to our VOIP server. Then we have my main PC which consists of the following: Asus P45 P5Q motherboard, E8400 3.0GHz Core2Duo CPU overclocked to 3.6GHz in Summer and 4.0GHz in Winter. 4GB OCZ DDR800 RAM running at DDR1000 speeds and an ATI HD 4870 graphics card which has a custom flashed bios which overvolts the GPU and applies a generous overclock. I used to have a nice quiet watercooling loop in the PC, but sold it recently and went back to air cooling. I plan on doing another Watercooling build soon and will hopefully post the process and worklog here when I do. The other peripherals consist of a Dell 24″ LCD (1920×1200), G15 Keyboard and Logitech MX518 mouse.

I use this PC for just about everything – all my PC gaming, Web browsing, a little bit of programming and Virtualisation (On top of Windows 7 Professional it is running VMWare Server 2.0) with a variety of guest VMs that I use for testing and practising various Windows and Linux server technologies.

Other hardware I have lying around is an old Dell Poweredge 2U server which I run VMWare ESX 3.5 and a Dell Optiplex machine running uBuntu 8.04, with VMWare Server 2.0 for linux and a guest VM operating system running on top of that which runs uBuntu Server 9.04 and this very website.

Anyway here are a few photos of my nice clean new workspace.