My computer hardware journey started in the mid 1990s, when I was about 10 or 11 years old. It started out with me dismantling and reconfiguring various 486 machines. These were also known as i486 or Intel 80486 systems.
Electronics had always been a big curiosity for me. As a child I liked to open up devices and extract their internals. I would collect PCBs and join them in nonsensical ways, imagining I had invented new and wonderful devices, capable of many great things.
To illustrate my passion for tinkering with electronics, here is a quick story going back to my toddler years: My parents had noticed my love for tools as a toddler and had tried in vain to make them safe for me. According to my father, he once added a solid lump of pratley steel putty to the end of a sharp screwdriver for me. An attempt to make it safe for me to handle. As soon as I saw this, I threw it to the ground in protest. I only wanted real tools. One of the toys I had was an old 5+1⁄4-inch floppy disk drive!
My First 486 Build
Fast forwarding to the mid 1990s, I was far more capable with tools and had begun to scavenge surplus PC hardware. My uncle owned a PC repair shop where I grew up. As far as I recall I managed to scavenge old discarded parts from his collection, as well as other sources. Schools or universities that would throw out old machines as they cycled or upgraded them, cousins or family friends that had no need for old systems, etc…
The very first working system that I managed to modify was an Acer branded 486 desktop system. It had a horizontally aligned desktop chassis, one that allowed you to place a CRT monitor on top of.
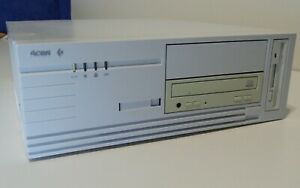
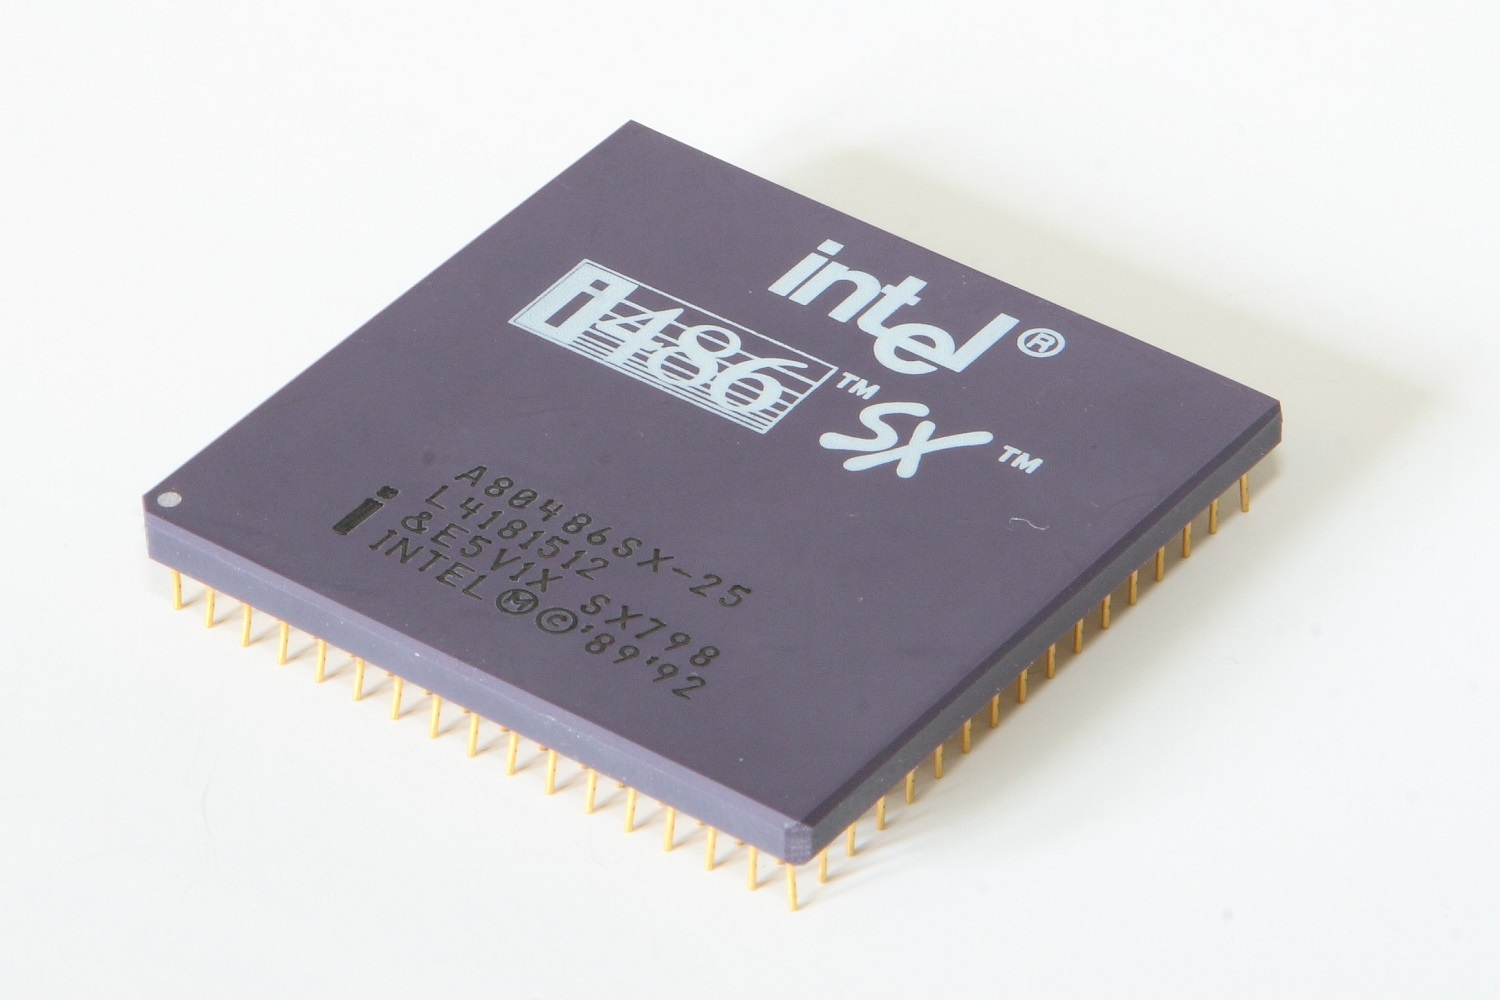
I remember it had a 486 SX-33 CPU. A rather weakly clocked 486 processor, that didn’t even require a heatsink and fan assembly. The 486 SX processors had their FPU (floating point unit) disabled. I imagine this reduced cost and heat output.
This wasn’t exactly a scratch build, but it allowed me to get my feet wet in the world of computer hardware.
Upgrading the CPU
I swapped out the CPU for a 486 DX2-66, a much faster processor, adding a small aluminium heatsink and fan. The fan was powered by a molex power connector.
Memory and Upgrades
Another upgrade on this particular system that I remember was going from 4MB of RAM (SIMM, or single in-line memory module) to 8MB.
I don’t recall if the memory was the 30 or 72 pin type.
Hard Drive Configuration
Among other upgrades, the hard disk drive got swapped out for a slightly larger one. I think the capacity was somewhere around 400MB.
This upgrade had me reading manuals and learning about the importance of jumper placement. The drives connected with an ATA ribbon cable. It was important that the jumper on the back of the hard drive was configured according to the other devices sharing the same cable.
The jumper could be configured to make a drive device 0 or 1 (also known back then as the master or slave device) when sharing the same ATA cable.
The cables themselves were also rated for different transfer speeds. For example 16 or 33 MB/s, and later cables allows Ultra DMA to be used for speeds above 66 MB/s.
Future 486 Systems and Nostalgia
That Acer machine was a good learning experience for me. Soon after that time, I started building and configuring more 486 systems. I had all sorts from 486 DX2-66 to DX4-100 machines.
I started a little side hustle, where I would pick up old components and build fully configured systems, selling them in the local paper’s classifieds section.
Thinking back, this was seriously impressive for a kid my age. By the late 90s (at age 12 or so) I was earning chunks of cash from selling systems that I had built for next to nothing.
Fixing Old CRT Monitors
One of the big wins for me was when I learned from my uncle how to ‘fix’ blurry CRT monitors.
If opened up, all monitors had analog adjustment dials (potentiometers) that could be turned with a screwdriver to control the flyback. One of these would control focus.
I would gather up old CRT monitors that nobody wanted anymore because they had gone ‘blurry over time’. The fix was simply to adjust the focus potentiometer inside while the monitor was on. Of course this was very dangerous as these old monitors contained high voltage capacitors that remained charged up for a while, even after power was disconnected. However, having learned from an adult, I was very careful about this, and the payoff was being able to make cash from selling full systems with monitor included.
This was an amazing time for me as a kid. I learned how to operate DOS, and further operating systems such as Windows 3.1 and further on, Windows 95.
Computer Knowledge Acquired from my ‘486 era’
Here are some random things I learned in the 1990s during my time tinkering with 486 systems. I guess some of the time was also spent with older 386 machines too.
- DOS configuration using the CONFIG.SYS and AUTOEXEC.BAT files
- Expanded memory manager configuration with EMM386.
- Configuring CDROM device drivers in DOS and setting them up on boot.
- Writing simple batch (.BAT) scripts.
- Simple QBASIC programming.
- A little later on, Turbo Pascal programming basics.
- Compression and decompression with tools like ARJ.
- Manual sound card configuration by selecting specific addresses and channels.
- Networking two machines using serial or parallel cables (COM or LPT), and using laplink software to copy files between.
Gaming and PC use in the 1990s
Not all of my computer time as a kid was spent working with computer hardware. I enjoyed playing games just as much.
Some of my most memorable and favourite DOS games that I enjoyed playing on the first 486 system my parents owned, (and later on the 486 systems I built were):
- X-Wing and Tie Fighter
- UFO – Enemy Unknown
- Ultima VIII: Pagan
- Master of Orion (MOO)
- Wacky Wheels
- Death Rally
- Screamer
- Cannon Fodder
- Strike Commander
- Wing Commander
I also fondly remember writing science fiction (short stories) in word processing software in DOS and then printing them out on a dot matrix printer. I would take these to school and share with friends (who would also do the same thing).
Follow my Retro Hardware blog post series:
- The Pentium era – My Retro Computer Hardware Journey
- 3dfx Voodoo – A Brief History and a Retro PC build
Notes:
The featured image of the 486 SX CPU is sourced from: https://en.m.wikipedia.org/wiki/File:Intel_i486_sx_25mhz_2007_03_27b.jpg and comes with this creative commons license.
