Creating Primary and Secondary Domain Controllers (Windows 2003 Server)

I was creating a new Domain the other day for testing purposes and thought I would document the process as I went along to put a short tutorial up over here.

This is how to create a Primary Domain Controller (Windows Server 2003) as well as a Secondary DC to act as a backup. I will not be covering FSMO roles or changing of FSMO roles in this tutorial however. The how-to assumes that you have two freshly installed Windows 2003 Servers.

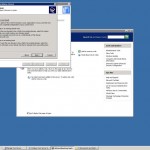
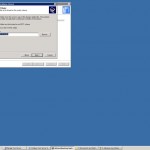
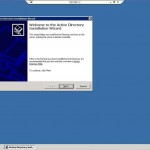
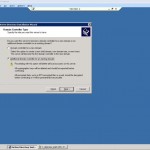
1. Create your first DC. On your first freshly installed Windows 2003 Server machine, go to Start->Run, then type “dcpromo” then hit enter. Alternatively you can go to the “Manage your server” wizard and add a new Role of “Domain Controller (Active Directory)”. After running dcpromo, click Next till you get to the “Domain Controller Type” page. Here we will select “Domain controller for new domain”.

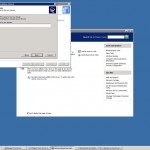
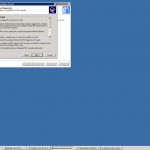
2. Next we select “Domain in a new forest”.

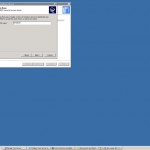
3. You can now enter your full DNS name for the new domain. I used “shogan.local”. Don’t use your web domain here as this is an “internal domain name”. Use something like “yourcompanyname.local”.

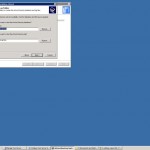
4. For the netbios name, leave as default. It should just be a shortened version of your domain specified in step 3. I believe this to help with compatibility when NT, 95, 98 machines are looking at a Windows 2000 or higher domain.

5. Next you can specify the location of your database and log folders. I usually leave mine in their default location.

6. Same for the Shared System Volume folder. I leave mine as default (C:\WINDOWS\SYSVOL).

7. Next the wizard will check to see if you have DNS installed on this machine. If not, select the second option “Install and Configure the DNS server on this computer”. This is the easiest option and the installation will set DNS up for you.

8. The next screen deals with compatibility. I selected the second option here (Windows 2000 and 2003) as I won’t have any other servers below Windows 2000 or 2003 on this particular domain.

9. Enter your Directory Services restore mode password on the next screen and keep this safe.

10. Continue the wizard and the installation will begin.

11. Once the Active Directory Installation wizard is complete, click Finish, then restart the server.

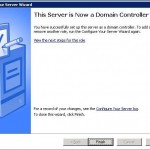
12. Once it has restarted, you should get a screen stating “This Server is now a Domain Controller”. Click Finish and you are done with the first DC!

13. Next, I go to the second server with a fresh install of Windows 2003 Server.

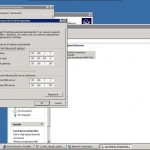
14. Set your IP addresses up. Now that you have a DNS server on the other DC, you can point this Server’s Preferred DNS address to the IP of the Primary DC we just set up. In this case my Primary DC has an IP of 192.168.1.1 and the second DC we are about to set up gets an IP of 192.168.1.2.

15. Run dcpromo on the new server.

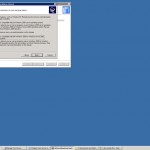
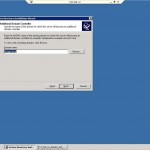
16. This time we are going to choose “Additional Domain Controller for an existing domain” in the Active Directory installation wizard.

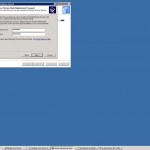
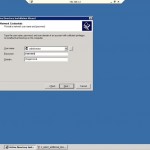
17. The next screen asks you for your “network credentials”. Enter your new domain administrator username and password (Set up from the first DC). This should be “Administrator” and whatever password you specified during the install. Enter your domain name specified in step 3 above. For example I used “shogan.local”.

18. Enter the domain name again (shogan.local) in my case on the next screen.

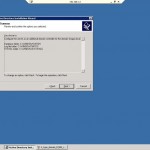
19. Complete the rest of the installation wizard as we did in the steps for the first DC. This just involves specifying log folders etc… I usually leave the rest of the options at their defaults. Once you are done, set up should ask you to restart the server.

20. Restart once complete and login with your domain admin account. You should now have a fully functional secondary DC. Any changes you make in Active directory on either server should now replicate across to the other DC.

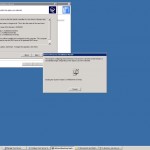
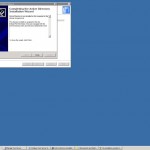
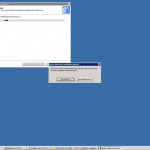
Here are the images related to each step of the installation process. Click any thumbnail to bring up the larger version.

Feel free to post any questions or comments in the comments section below.
Deleting multiple Terminal Server user profile temp and temporary internet files out automatically.

A while back I found a very useful little app that was developed purely to clean out or delete user profile temp and temporary internet files from TS profiles for all users.

It works from command prompt by only deleting data from profiles that are not currently in use when the command is executed. You can specify swiches as follows:

icsweep /tmp for only Temp files.

icsweep /tif for only Temporary Internet files

icsweep /all for both

The publisher of this application can be found here: Ctrl-alt-del Consultancy

The application can be downloaded here: icsweep.zip

Just for interest sake, I cleared two terminal servers earlier using the /all switch and gained 40GB of free space between the two of them!

icsweep

Cannot save the attachment. Can’t create file in Outlook.

Had this problem on a PC today – Outlook was having trouble opening .MHT file attachments from a contact item. Any attempt to open any .MHT file would result in an error message stating “Cannot save the attachment xxxxxxxxx.mht. Can’t create the file. It then asked to open the folder / file in question and check security permissions. This could happen for any attachment type, but in my case it was .MHTs.

Anyway the quick solution I found is to browse to the “OutlookSecureTempFolder” and remove all files listed in that directory. Close and restart Outlook and everything should be working again. Credit to this page where I found the solution.

1. Open REGEDIT.EXE and go to Edit -> Find… In the Find dialog box type “OutlookSecureTempFolder” without the quotes and locate that registry key.

2. That key will contain the actual folder location, and will look like:

C:\Documents and Settings\%USER_NAME%\Local Settings\Temporary Internet Files\OLK#\ (where # is a random letter or number)

3. Copy the location of that folder.

4. Click on Start -> Run… and paste the folder location from step #4 then click OK.

5. Windows Explorer will open that folder. Please, delete all files present.

6. Restart Microsoft Outlook and you should be able to open your attachments.

A quick update to this – the error occurs when you have the same document saved in this folder 99 times. This seems to be the maximum limit of times you can have an attachement from Outlook saved into this “temp” folder. Each time you open a file with the same file name from Outlook a new copy is saved here. For example (filename.zip (1) filename.zip (2) etc.)

Setting group policy to enforce automatic updates

This is a quick how-to for setting automatic updates using group policies in Windows Server 2003.

Start off by opening up Active Directory Users and Computers from the server.

Hopefully you have got a specific OU that you want to apply this group policy to. In my case, there are about 100 computers listed under the Computers OU in Active Directory. My servers are located in a different OU, which is just as well, because I don’t want this policy to apply to the servers.

Right click on the OU you want to apply the Group policy to, and select Properties. From this properties page, select the Group Policy tab. If you already have the Group policy managment snap-in installed, you will see something similar to the screenshot below – in this case just click “Open” to continue.

active-directory-gp

The group policy management window will open. Right-click the OU (In my case Computers), and select “Create and link a GPO here”

create-gpo1

Give the new GPO a name. I called mine “Install automatic updates”

gpo-name

Now, under the Linked Group Policy Objects tab, right click the new policy name, and select “Edit”

edit-new-gpo1

Now the Group Policy Object Editor will open. Under Computer Configuration, expand Administrative Templates, then Windows Components, then Windows Update.

automatic-update-gpo-settings

On the right panel, right-click “Configure Automatic Updates” and select “Properties” Set the status to “Enabled” and choose your automatic update setting – I used option 4, which will download and install updates on a schedule, which I set to 17h00 every day.

Click Apply, then OK.

configure-automatic-updates

You can optionally set the settings for the option “Delay restart for scheduled installations” otherwise the PCs will be given a count down timer of 5 minutes once updates are installed to auto restart. The user can delay this if they are logged in, otherwise configure this setting to set the count down timer up to a maximum of 30 minutes. The user can always click restart later anyway.

Close the policy editor, and group policy management down once you have set your various options for automatic updates. The GPO will now be linked to the OU “Computers” and any PC listed in this OU will have this policy applied the next time they login, or group policies are applied.

You can manually enforce policies on a PC by typing the following in command prompt, or the run dialog box :

gpupdate /force

Hope this helps anyone looking to achieve a similar result!