AWS System Manager Session Manager added the port forwarding feature, announced in this blog post back in 2019. In this post I’ll show you how to leverage SSM and socat port forwarding to access systems in a private subnet that don’t have the SSM agent installed.
You’ll use an SSM agent enabled EC2 instance as an initial target for the ssm port forward session. On this instance, you’ll run socat as a relay for the incoming TCP session to the other instance that does not have the SSM agent.
What is socat?
To quote the official man page, socat (SOcket CAT) is a multipurpose relay. It is a command line tool that establishes two bidirectional byte streams and transfers data between them.
You can use it to connect all sorts of channels. For example:
- files
- pipes
- devices
- sockets, such as TCP, UDP, IPv4, etc
- SSL sockets
- programs
SSM and socat Port Forwarding Example
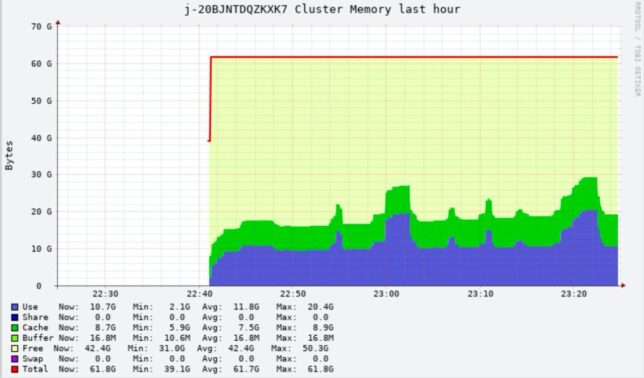
In my example I have an AWS EMR (Elastic Map Reduce) master node running a web dashboard for ganglia in a private VPC subnet.
I don’t want to add a bastion host / jump box or provide SSH access from the public net.
SSM would provide a nice way for me to connect a remote session, or port forward using IAM authentication and negating the need for any ingress security group rules, but only if I had the SSM agent available on this instance.
Seeing as though the EMR master node is not SSM agent enabled, and I can’t use SSM port forwarding directly to this instance, we could use an interim machine with SSM as a jump box.
Example Configuration
Here is how I configured port forwarding in my use case to access ganglia on a private instance EMR node.
- The EC2 instance with SSM agent must have an IAM policy attached that allows the relevant ssm access. The blog post linked above has instructions. In a nutshell though, most standard Amazon AMIs include the ssm agent. Your EC2 instance profile should include the required actions too. The AmazonSSMManagedInstanceCore managed policy includes these.
- Install socat on the SSM agent enabled interim machine the private subnet. For this I connected an SSM session to get shell access and ran
sudo yum install -y socat - Now I needed to open a source channel for the SSM port forward aws cli command to connect, and connect that source to the destination of the EMR master node running ganglia.
socat TCP4-LISTEN:8080,fork,reuseaddr TCP4:10.0.4.149:80
The command listens on port 8080, and forwards TCP to the EMR node, 10.0.4.149 on port 80. Importantly, the command uses fork and reuseaddr to allow multiple connections.
- Next is to use the AWS CLI ssm start-session command to start a port forwarding session to the interim instance with the SSM agent running. Grab the Instance ID for the EC2 machine and:
aws ssm start-session --target {your-instance-id-here} --document-name AWS-StartPortForwardingSession --parameters '{"portNumber":["8080"],"localPortnumber":["8089"]}'

If you setup socat correctly to listen on port 8080, then the connection should be opened and accepted.
Now you can simply open a web browser locally and direct it to http://localhost:8089/ganglia to access ganglia on the remote EMR master node.

Closing
AWS SSM is a useful tool to get access to instances in a secure, audited fashion without needing to open up risky SSH access or other remote ports to the public internet.
When constrained and needing a jump across to an instance without the SSM agent you can leverage tools to help. Socat is one such tool that can facilitate this within the private network.


