I needed to set up a WSL2 GUI recently on my machine (WSL2 running uBuntu 20.04.1 LTS). I found a guide that runs through the process but found that a few tweaks needed to be made. Specifically, the communication to VcXsrv was being blocked by Windows Firewall.
There were also a couple of extra tweaks needed for audio passthrough using PulseAudio and setting a windowed resolution.
Setting up a WSL2 GUI X-Server in Windows
Start by installing xfce4 and goodies.
sudo apt install xfce4 xfce4-goodies
If you’re running Kali you should use:
sudo apt install kali-desktop-xfce
During the install you’ll be prompted about which display manager to use. This is up to you, though I personally chose lightdm.
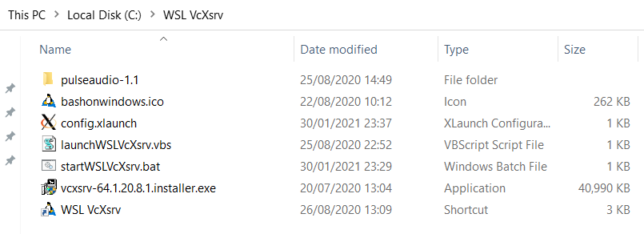
Download this .zip package which contains VcXsrv and PulseAudio along with some configuration and a shortcut to launch.
Extract it to the root of your C:\ drive. You should end up with contents under C:\WSL VcXsrv.

Run the vcxsrv-64.1.20.8.1.installer.exe installer in this folder, choosing defaults for the install.
Once installed, you’ll want to enable High DPI scaling for VcXsrv in Windows.
- Navigate to C:\Program Files\VcXsrv
- Right-click xlaunch.exe and go to Compatibility
- Click Change high DPI settings and choose Override high DPI scaling behavior. Ensure Application is in the dropdown.
Next, edit the startWSLVcXsrv.bat batch file and change the last line that reads ubuntu.exe run to one of:
ubuntu2004.exe runin the case you are using uBuntu 20.04 from the Microsoft Store for WSL-
ubuntu1804.exe runif you are using uBuntu 18.04 from the Microsoft Store for WSL -
ubuntu.exe runfor when you are using standard uBuntu from the Microsoft Store for WSL -
kali.exe runif you installed Kali-Linux from the Microsoft Store for WSL
Pin the WSL VcXsrv shortcut somewhere convenient like the taskbar.
Opening Windows Firewall for VcXsrv and PulseAudio
Next you need to allow inbound traffic to Windows for VcXsrv and PulseAudio.
Open Windows Defender Firewall with Advanced Security and add two new Inbound Rules as follows:
- Type: Program
- Program path: %ProgramFiles%\VcXsrv\vcxsrv.exe for VcXsrv and %SystemDrive%\WSL VcXsrv\pulseaudio-1.1\bin\pulseaudio.exe for PulseAudio
- Allow the connection
- Profile: Domain, Private
- Name: vcxsrv or pulseaudio depending which rule you are adding
I personally added the following to ExtraParams under the XLaunch node of config.xlaunch. This sets windowed mode to 1920×1080 for monitor #1 on my machine.
-screen 0 1920x1080@1
Viewing your WSL2 GUI
With all of that setup out of the way, you should be able to simply launch VcXsrv from the pinned shortcut and everything should work.
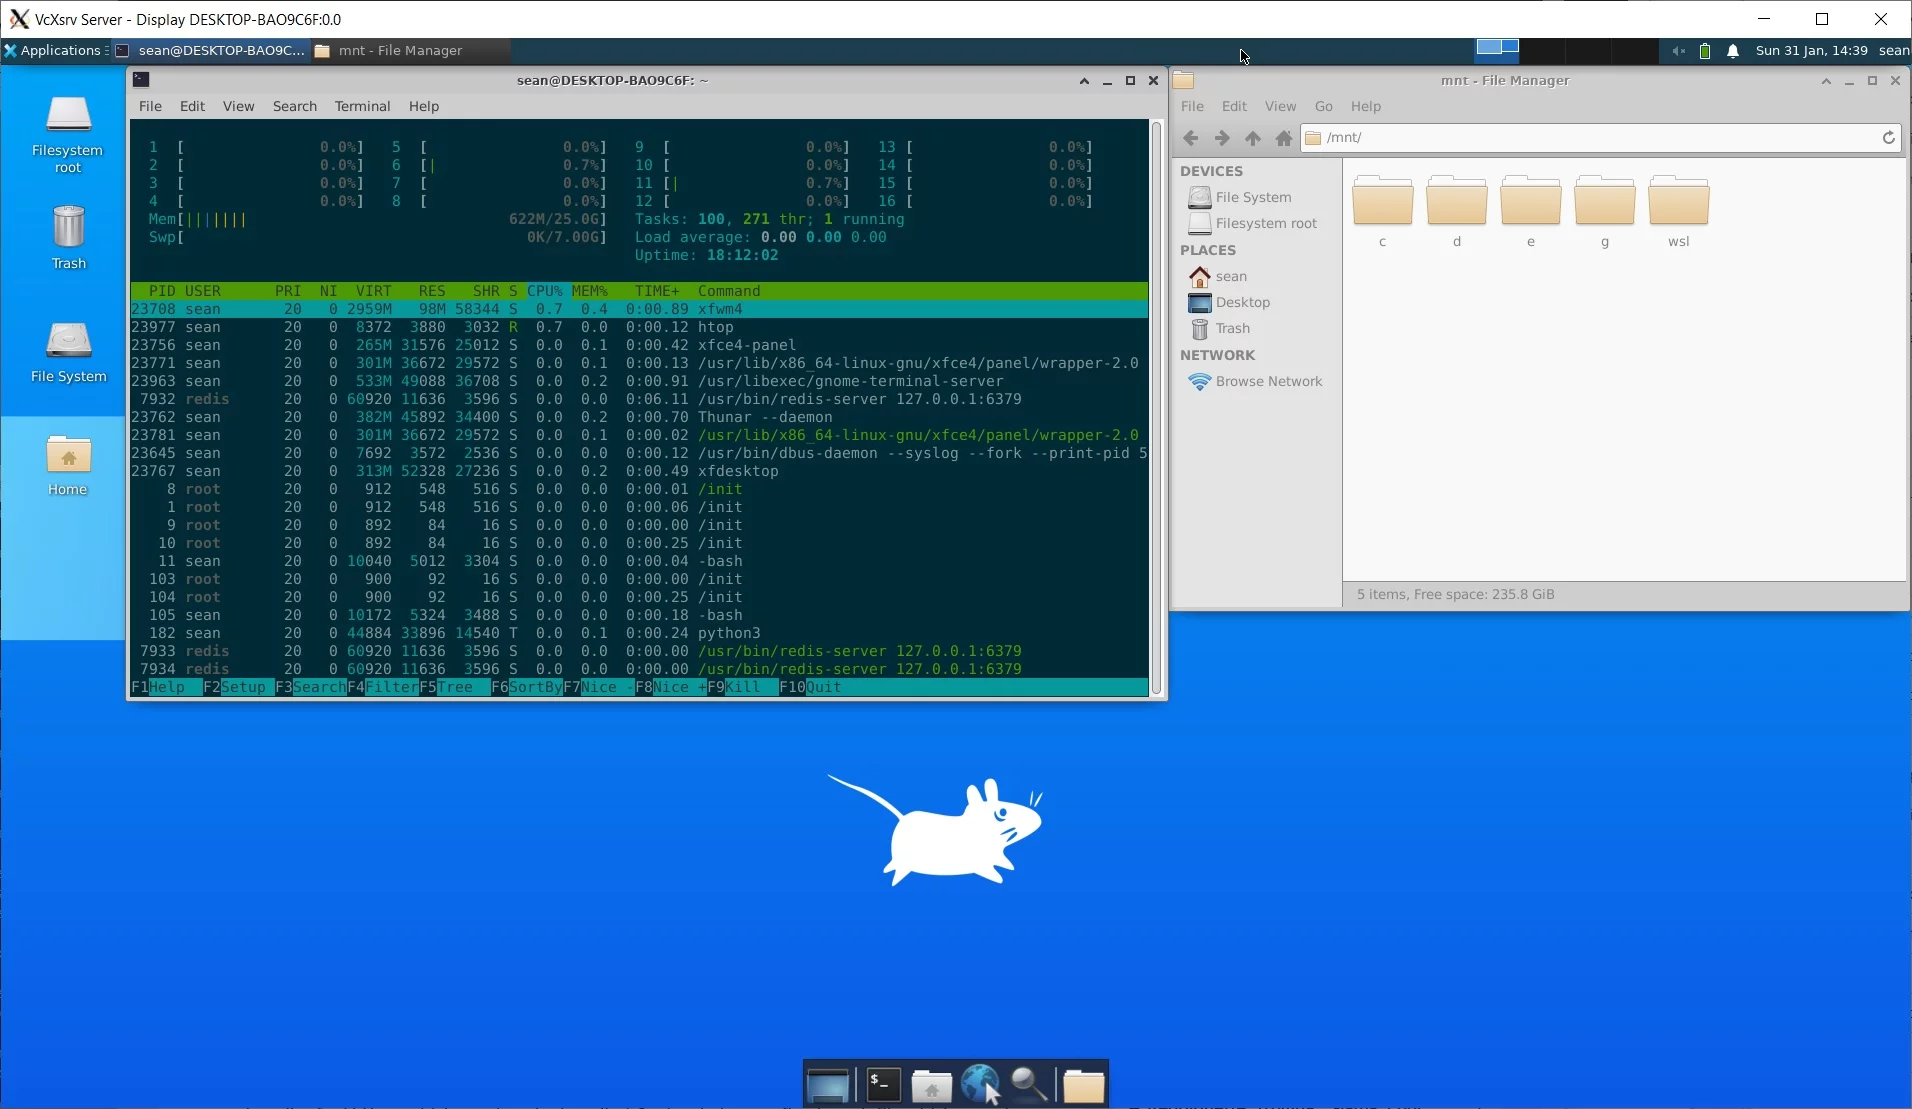
Try it out and you should get Desktop up and running for your WSL2 environment.

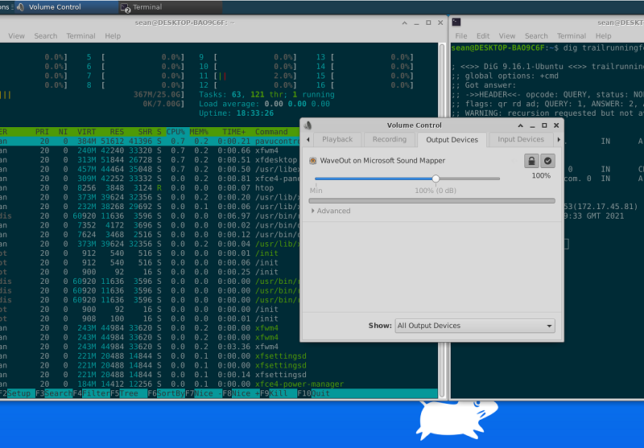
PulseAudio passthrough should also be available if you check your sound / volume settings. Try an audio test using alsa-utils:
sudo apt install alsa-utils
speaker-test
Kudos to this guide on reddit for most of the setup instructions. As mentioned before, I needed to configure my firewall and also added some tweaks for windowed mode.
Troubleshooting
If you find your VcXsrv Server display window is blank when launching, try the following:
- Double-check your firewall rule is allowing inbound connections for vcxsrv.exe for the domain and private scopes.
- With the black X-server / display window from VcXsrv still open, launch a WSL shell separately, and run the following to set your DISPLAY environment variable:
export DISPLAY=$(grep -m 1 nameserver /etc/resolv.conf | awk '{print $2}'):0
This takes the IP address of your host machine (conveniently used as a nameserver in your WSL Linux environment for DNS lookups) and sets it as the Display remote location (with :0 for the display number appended).
Now, try to launch a xfce4 session with:
xfce4-session
If all goes to plan, the session should target your machine where VcXsrv Server is running and your display window should come to life with your WSL environment desktop.


