This is a quick reference post if you’re looking to pipe output into another command on Linux using xargs.
The pipeline is immensley powerful and you can leverage it to act on different stages of your full command to do specific selecting, matching, and manipulation.
Say you are running an executable that outputs a bunch of JSON and you want to select certain a certain subset of this data, pattern match it, and then send that matched data into another command.
This is the perfect use case for a mixture of the jq, grep and xargs commands in the pipeline.
Practical example with xargs
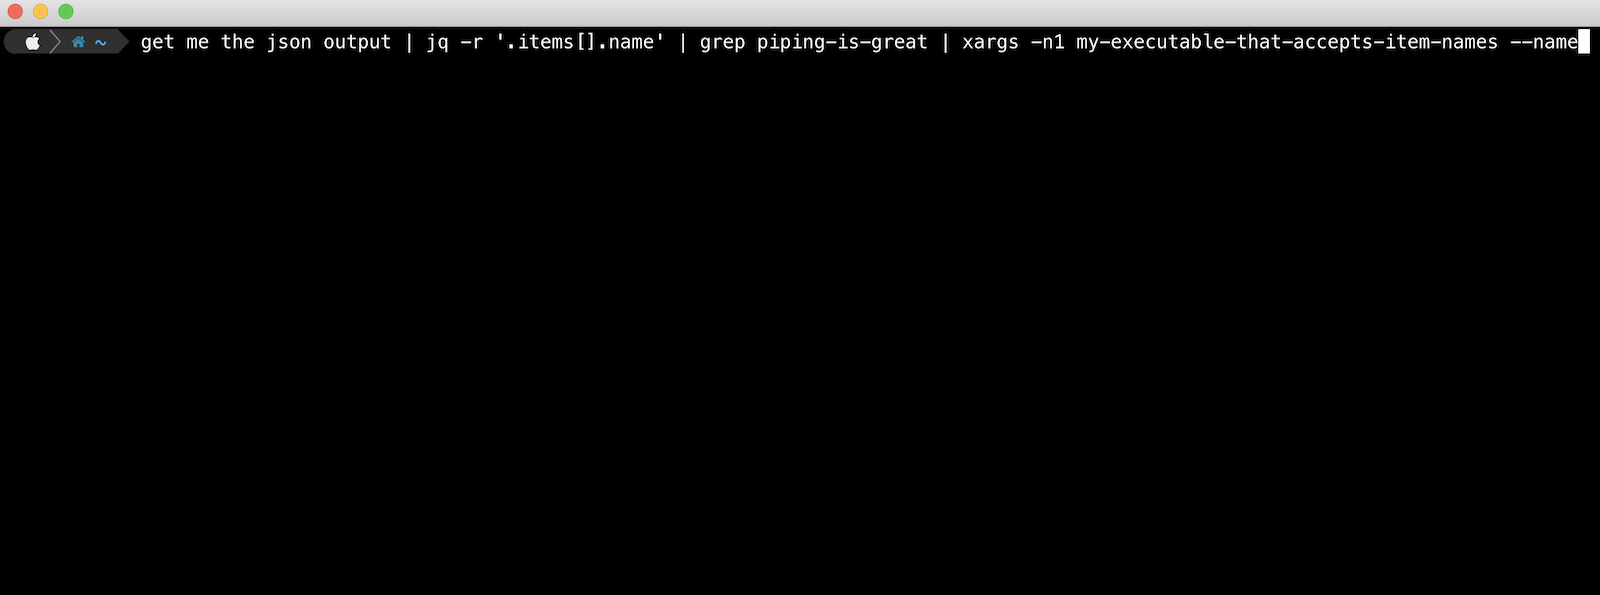
Here is a practical example where you might want to list all your AWS CodePipeline pipelines, match only on certain ones, and then execute (Release Changes) on each of them.
Lists all AWS CodePipelines with the command aws codepipeline list-pipelines
Uses jq to ‘raw’ select the name from each pipeline object in the pipelines[] array that the above command outputs
Sends each pipeline name into grep to match only those containing the string “project-xyz”
Pipes the resulting pipeline names using xargs into the command aws codepipeline start-pipeline-execution --name. The -n1 argument tells xargs to use at most max-args of 1 per command line.
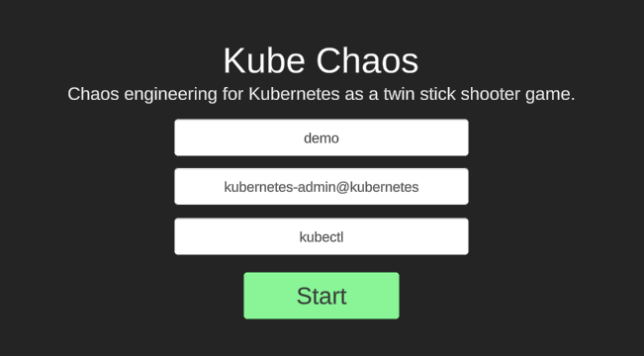
I recently blogged about a small game I made that interfaces with any Kubernetes cluster and allows you to enter cluster nodes and destroy live, running pods.
I mentioned I would make the source available if there was any interest, so here it is.
After a little bit of code clean-up, and removing my 2D Shooter Bullet and Weapon System and 2D Neon Grid asset code from the game, the source is now available. These modules are game development modules/assets that I sell on the Unity Asset Store, and as such could not include in the source here. The fancy grid/background effect is therefore missing in this version.
I’ve also added an initial Windows build in the releases section, which is ready to go. Just unzip, run and enter your kube context/namespace details to get going.
If you decide to compile from source yourself, just make sure you have Unity 2019.4 or later installed and you should be good to go. I’ve not yet tested on macOS or Linux, but
I’ve been constantly evolving my cloud backup strategies to find the ultimate cheap S3 cloud backup solution.
The reason for sticking to “S3” is because there are tons of cloud provided storage service implementations of the S3 API. Sticking to this means that one can generally use the same backup/restore scripts for just about any service.
The S3 client tooling available can of course be leveraged everywhere too (s3cmd, aws s3, etc…).
BackBlaze B2 gives you 10GB of storage free for a start. If you don’t have too much to backup you could get creative with lifecycle policies and stick within the 10GB free limit.
Current Backup Solution
This is the current solution I’ve setup.
I have a bunch of files on a FreeNAS storage server that I need to backup daily and send to the cloud.
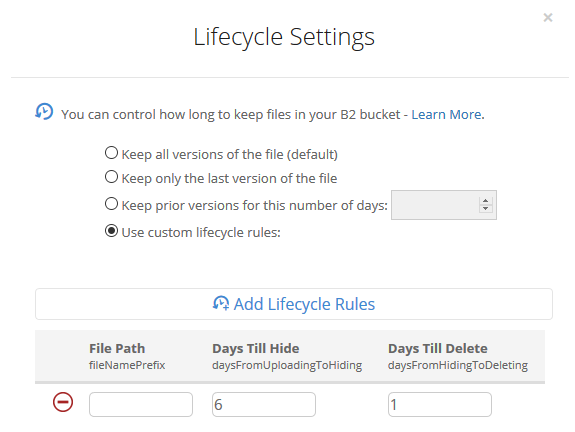
I’ve setup a private BackBlaze B2 bucket and applied a lifecycle policy that removes any files older than 7 days. (See example screenshot above).
I leveraged a FreeBSD jail to install my S3 client (s3cmd) tooling, and mount my storage to that jail. You can follow the steps below if you would like to setup something similar:
Step-by-step setup guide
Create a new jail.
Enable VNET, DHCP, and Auto-start. Mount the FreeNAS storage path you’re interested in backing up as read-only to the jail.
The first step in a clean/base jail is to get s3cmd compiled and installed, as well as gpg for encryption support. You can use portsnap to get everything downloaded and ready for compilation.
portsnap fetch
portsnap extract # skip this if you've already run extract before
portsnap update

cd /usr/ports/net/py-s3cmd/
make -DBATCH install clean
# Note -DBATCH will take all the defaults for the compile process and prevent tons of pop-up dialogs asking to choose. If you don't want defaults then leave this bit off.

# make install gpg for encryption support
cd /usr/ports/security/gnupg/ && make -DBATCH install clean
The compile and install process takes a number of minutes. Once complete, you should be able to run s3cmd –configure to set up your defaults.
For BackBlaze you’ll need to configure s3cmd to use a specific endpoint for your region. Here is a page that describes the settings you’ll need in addition to your access / secret key.
After gpg was compiled and installed you should find it under the path /usr/local/bin/gpg, so you can use this for your s3cmd configuration too.
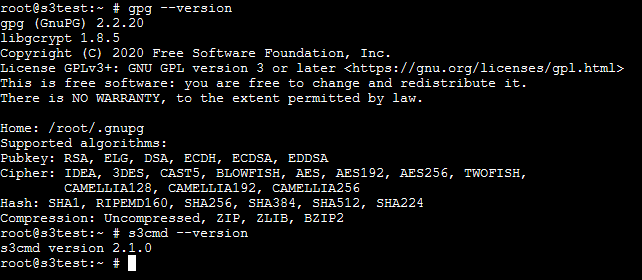
Double check s3cmd and gpg are installed with simple version checks.
gpg --version
s3cmd --version
A simple backup shell script
Here is a quick and easy shell script to demonstrate compressing a directory path and all of it’s contents, then uploading it to a bucket with s3cmd.
DATESTAMP=$(date "+%Y-%m-%d")
TIMESTAMP=$(date "+%Y-%m-%d-%H-%M-%S")

tar --exclude='./some-optional-stuff-to-exclude' -zcvf "/root/$TIMESTAMP-backup.tgz" .
s3cmd put "$TIMESTAMP-backup.tgz" "s3://your-bucket-name-goes-here/$DATESTAMP/$TIMESTAMP-backup.tgz"
Scheduling the backup script is an easy task with crontab. Run crontab -e and then set up your desired schedule. For example, daily at 25 minutes past 1 in the morning:
Amazon S3 is overkill for simple home cloud backup solutions (in my opinion). You can change to use infrequent access or even glacier tiered storage to get the pricing down, but you’re still not going to beat BackBlaze on pure storage pricing.
Digital Ocean Spaces was nice for a short while, but they have an annoying minimum charge of $5 per month just to use Spaces. This rules it out for me as I was hunting for the absolute cheapest option.
BackBlaze currently has very cheap storage costs for B2. Just $0.005 per GB and only $0.01 per GB of download (only really needed if you want to restore some backup files of course).
Concluding
You can of course get more technical and coerce a willing friend/family member to host a private S3 compatible storage service for you like Minio, but I doubt many would want to go to that level of effort.
So, if you’re looking for a cheap S3 cloud backup solution with minimal maintenance overhead, definitely consider the above.
AWS have a handy post up that shows you how to get CodeBuild local by running it with Docker here.
Having a local CodeBuild environment available can be extremely useful. You can very quickly test your buildspec.yml files and build pipelines without having to go as far as push changes up to a remote repository or incurring AWS charges by running pipelines in the cloud.
I found a few extra useful bits and pieces whilst running a local CodeBuild setup myself and thought I would document them here, along with a summarised list of steps to get CodeBuild running locally yourself.
Now, locate the Dockerfile for the CodeBuild image you are interested in using. I wanted to use the ubuntu standard 3.0 image. i.e. ubuntu/standard/3.0/Dockerfile.
Edit the Dockerfile to remove the ENTRYPOINT directive at the end.
# Remove this -> ENTRYPOINT ["dockerd-entrypoint.sh"]
Now run a docker build in the relevant directory.
docker build -t aws/codebuild/standard:3.0 .
The image will take a while to build and once done will of course be available to run locally.
Now grab a copy of this codebuild_build.sh script and make it executable.
Place the shell script in your local project directory (alongside your buildspec.yml file).
Now it’s as easy as running this shell script with a few parameters to get your build going locally. Just use the -i option to specify the local docker CodeBuild image you want to run.
./codebuild_build.sh -c -i aws/codebuild/standard:3.0 -a output
The following two options are the ones I found most useful:
-c – passes in AWS configuration and credentials from the local host. Super useful if your buildspec.yml needs access to your AWS resources (most likely it will).
-b – use a buildspec.yml file elsewhere. By default the script will look for buildspec.yml in the current directory. Override with this option.
-e – specify a file to use as environment variable mappings to pass in.
Testing it out
Here is a really simple buildspec.yml if you want to test this out quickly and don’t have your own handy. Save the below YAML as simple-buildspec.yml.
version: 0.2

phases:
  install:
    runtime-versions:
      java: openjdk11
    commands:
      - echo This is a test.
  pre_build:
    commands:
      - echo This is the pre_build step
  build:
    commands:
      - echo This is the build step
  post_build:
    commands:
      - bash -c "if [ /"$CODEBUILD_BUILD_SUCCEEDING/" == /"0/" ]; then exit 1; fi"
      - echo This is the post_build step
artifacts:
  files:
    - '**/*'
  base-directory: './'
Now just run:
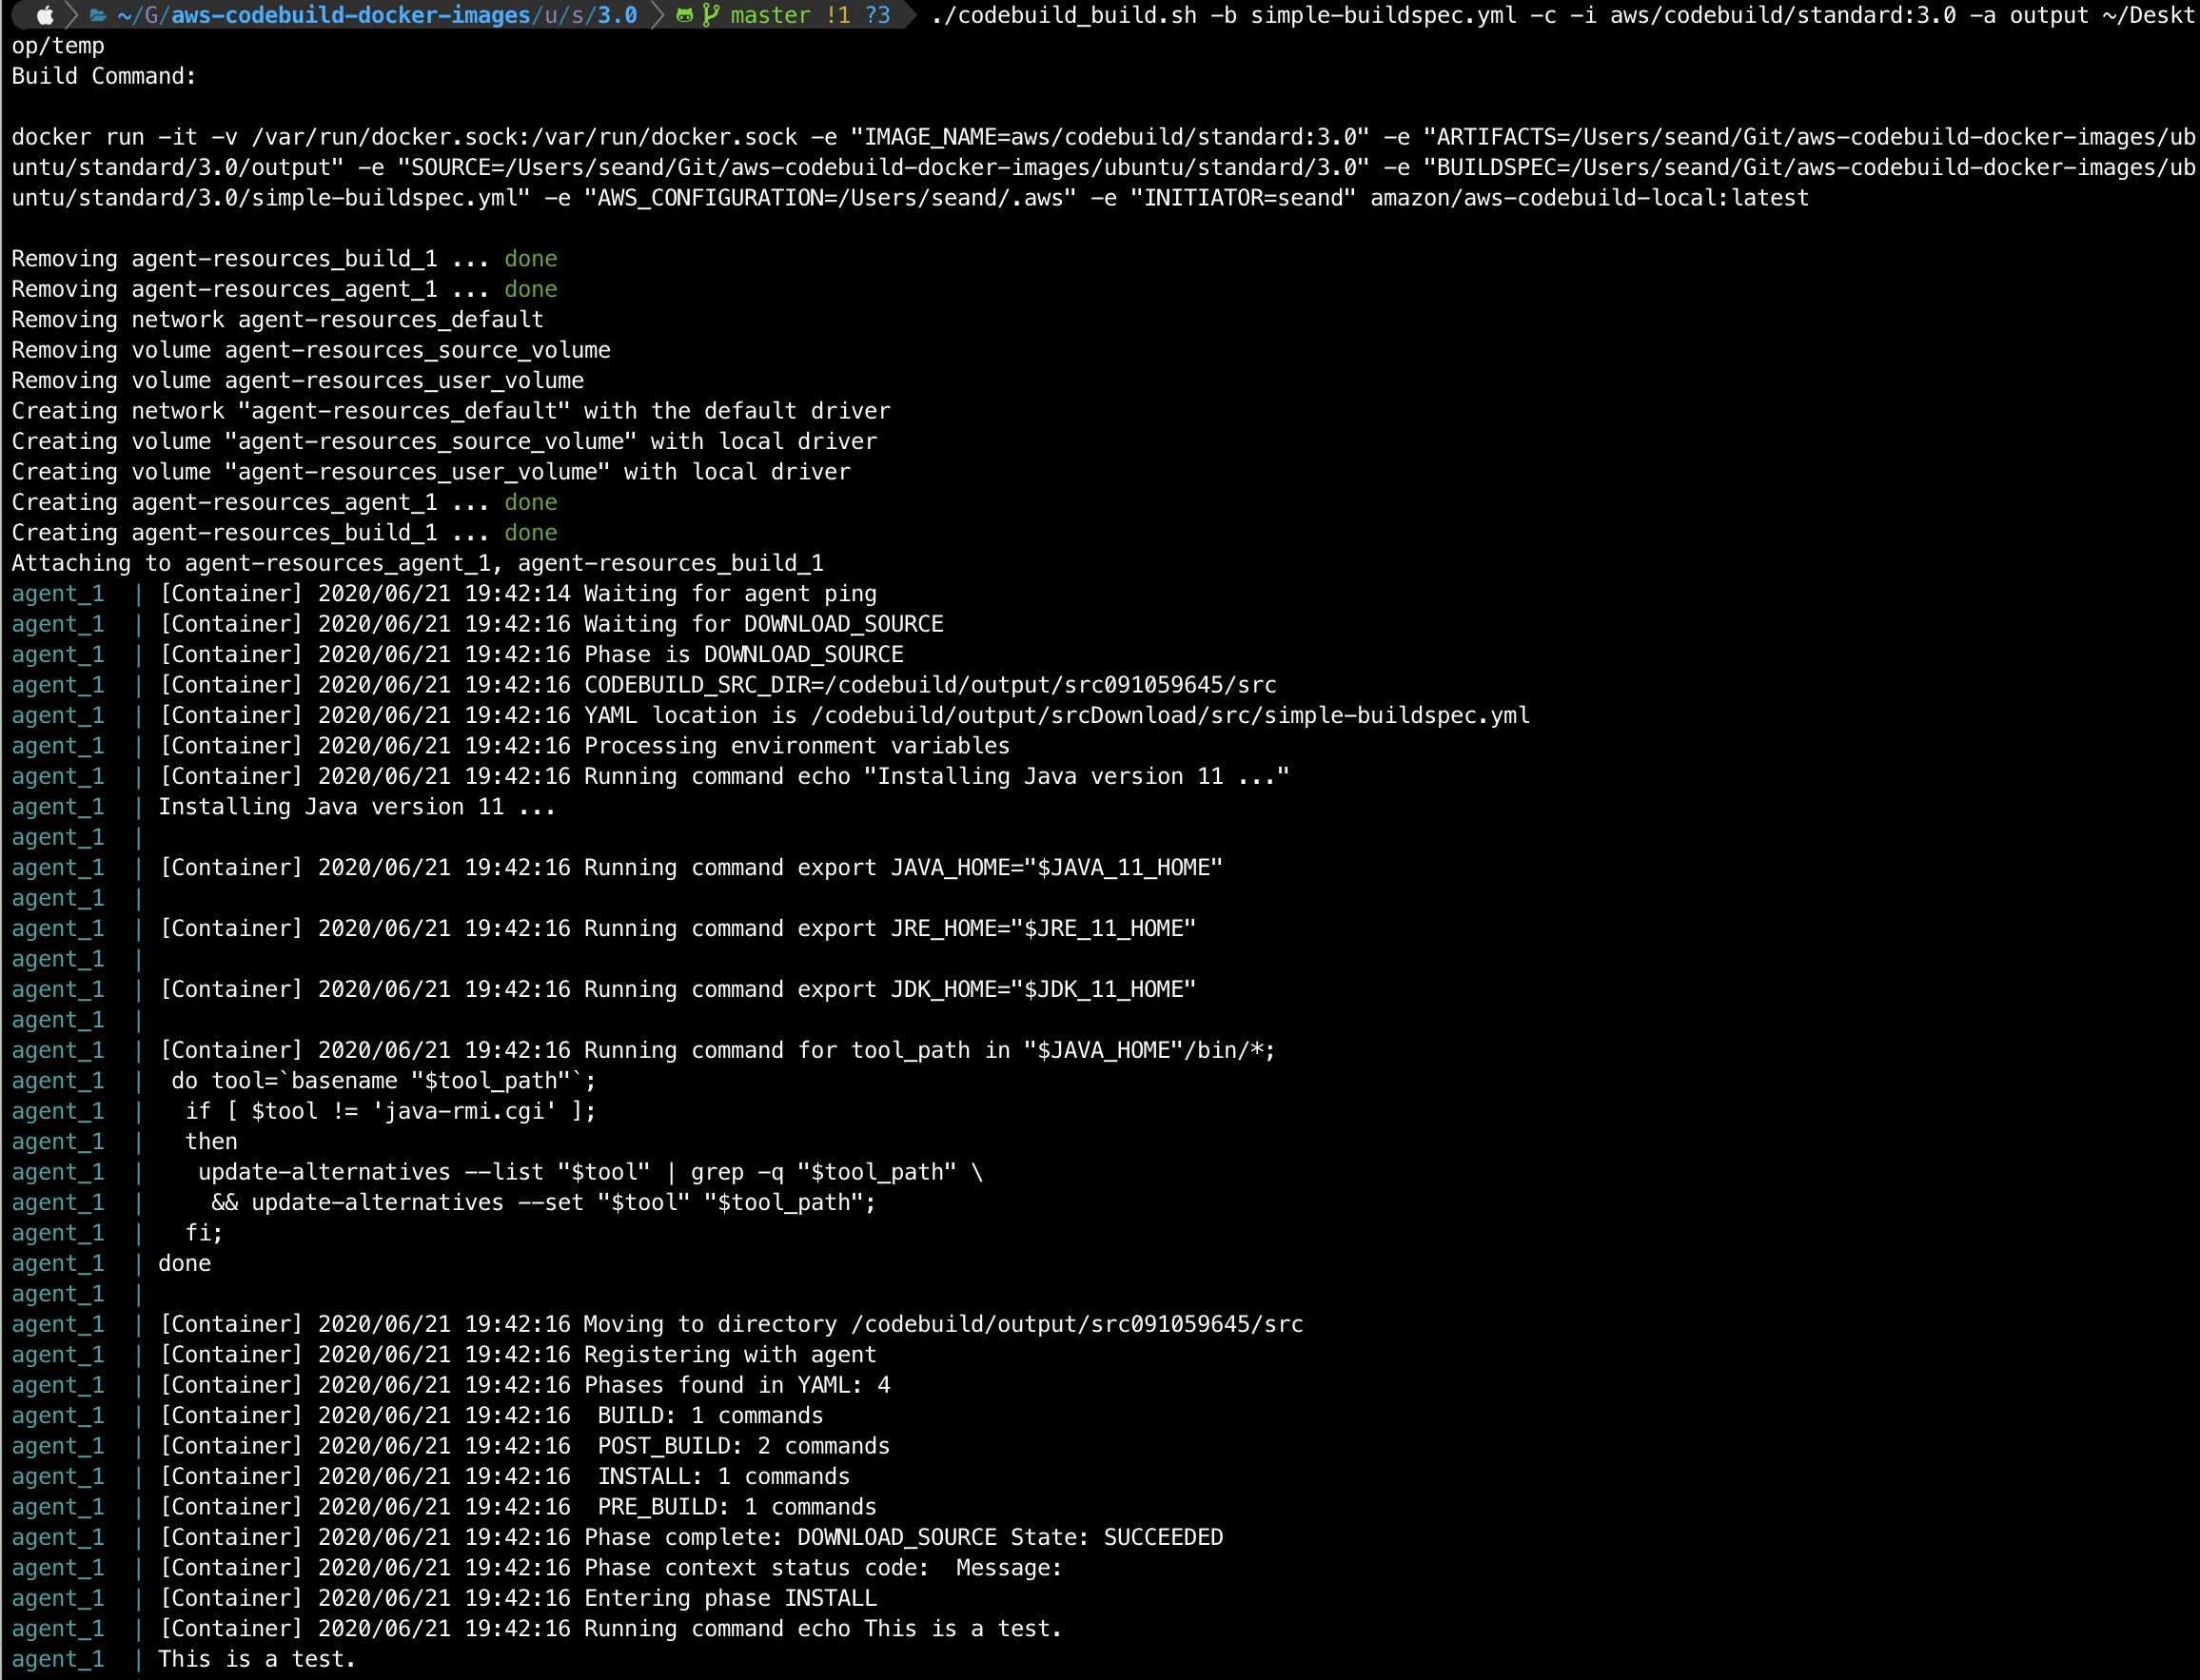
./codebuild_build.sh -b simple-buildspec.yml -c -i aws/codebuild/standard:3.0 -a output /tmp
You should see the script start up the docker container from your local image and ‘CodeBuild’ will start executing your buildspec steps. If all goes well you’ll get an exit code of 0 at the end.
OpenFaaS is an open source project that provides a scalable platform to easily deploy event-driven functions and microservices.
It has great support to run on ARM hardware, which makes it an excellent fit for the Raspberry Pi. It’s worth mentioning that it is of course designed to run across a multitude of different platforms other than the Pi.
Getting Started
You’ll work with a couple of different CLI tools that I chose for the speed at which they can get you up and running:
arkade – a golang based CLI tool for quick and easy one liner installs for various apps / software for Kubernetes
There are other options like Helm or standard YAML files for Kubernetes that you could also use. Find more information about these here.
I have a general purpose admin and routing dedicated Pi in my Raspberry Pi stack that I use for doing admin tasks in my cluster. This made for a great bastion host that I could use to run the following commands:
Install arkade
# Important! Before running these scripts, always inspect the remote content first, especially as they're piped into sh with 'sudo'

# MacOS or Linux
curl -SLsf https://dl.get-arkade.dev/ | sudo sh

# Windows using Bash (e.g. WSL or Git Bash)
curl -SLsf https://dl.get-arkade.dev/ | sh
Install faas-cli
# Important! Before running these scripts, always inspect the remote content first, especially as they're piped into sh with 'sudo'

# MacOS
brew install faas-cli

# Using curl
curl -sL https://cli.openfaas.com | sudo sh
Deploying OpenFaaS
Using arkade, deploy OpenFaaS with:
arkade install openfaas
If you followed my previous articles in this series to set your cluster up, then you’ll have a LoadBalancer service type available via MetalLB. However, in my case (with the above command), I did not deploy a LoadBalancer service, as I already use a single Ingress Controller for external traffic coming into my cluster.
The assumption is that you have an Ingress Controller setup for the remainder of the steps. However, you can get by without one, accessing OpenFaaS by the external gateway NodePortservice instead.
The arkade install will output a command to get your password. By default OpenFaaS comes with Basic Authentication. You’ll fetch the admin password you can use to access the system with Basic Auth next.
Grab the generated admin password and login with faas-cli:
OpenFaaS will have deployed with two Gateway services in the openfaas namespace.
gateway (ClusterIP)
gateway-external (NodePort)
Instead of relying on the NodePort service, I chose to create an Ingress Rule to send traffic from my cluster’s Ingress Controller to OpenFaaS’ ClusterIP service (gateway).
You’ll want SSL so setup a K8s secret to hold your certificate details for the hostname you choose for your Ingress Rule. Here is a template you can use for your OpenFaaS ingress:
You should now be able to access the OpenFaaS UI with something like https://openfaas.foo.bar/ui/
Creating your own Functions
Life is far more fun on the CLI, so get started with some basics with first:
faas-cli store list --platform armhf – show some basic functions available for armhf (Pi)
faas-cli store deploy figlet --platform armhf – deploy the figlet function that converts text to ASCII representations of that text
echo "hai" | faas-cli invoke figlet – pipe the text ‘hai’ into the faas-cli invoke command to invoke the figlet function and get it to generate the equivalent in ASCII text.
Now, create your own function using one of the many templates available. You’ll be using the incubator template for python3 HTTP. This includes a newer function watchdog (more about that below), which gives more control over the HTTP / event lifecycle in your functions.
Grab the python3 HTTP template for armhf and create a new function with it:
# Grab incubator templates for Python, including Python HTTP. Will figure out it needs the armhf ones based on your architecture!
faas template pull https://github.com/openfaas-incubator/python-flask-template
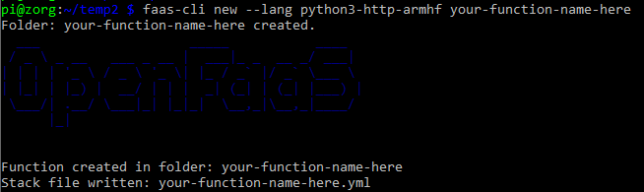
faas-cli new --lang python3-http-armhf your-function-name-here
Success – a new, python3 HTTP function ready to go
A basic file structure gets scaffolded out. It contains a YAML file with configuration about your function. E.g.
The YAML informs building and deploying of your function.
A folder with your function handler code is also created alongside the YAML. For python it contains handler.py and requirements.txt (for python library requirements)
def handle(event, context):
    # TODO implement
    return {
        "statusCode": 200,
        "body": "Hello from OpenFaaS!"
    }
As you used the newer function templates with the latest OF Watchdog, you get full access to the event and context in your handler without any extra work. Nice!
Build and Deploy your Custom Function
Run the faas up command to build and publish your function. This will do a docker build / tag / push to a registry of your choice and then deploy the function to OpenFaaS. Update your your-function-name-here.yml file to specify your desired docker registry/repo/tag, and OpenFaas gateway address first though.
faas up -f your-function-name-here.yml
Now you’re good to go. Execute your function by doing a GET request to the function URL, using faas invoke, or by using the OpenFaaS UI!
Creating your own OpenFaaS Docker images
You can convert most Docker images to run on OpenFaaS by adding the function watchdog to your image. This is a very small HTTP server written in Golang.
It becomes the entrypoint which forwards HTTP requests to your target process via STDIN or HTTP. The response goes back to the requester by STDOUT or HTTP.
Hopefully this gave you a good base to get started with OpenFaaS. We covered everything from deployment and configuration, to creating your own custom functions and images. Have fun experimenting!